Starting on the sides
After thinking about this project for long enough, the summer allowed one continuous weekend without precipitation and all excuses for procrastination had been used up.
Using a chop saw borrowed from a local friend, the stiles and stretchers were cut to length. The chop saw was clamped to my cheap and ancient portable work bench and the wood stored on some equally cheap plastic saw horses.
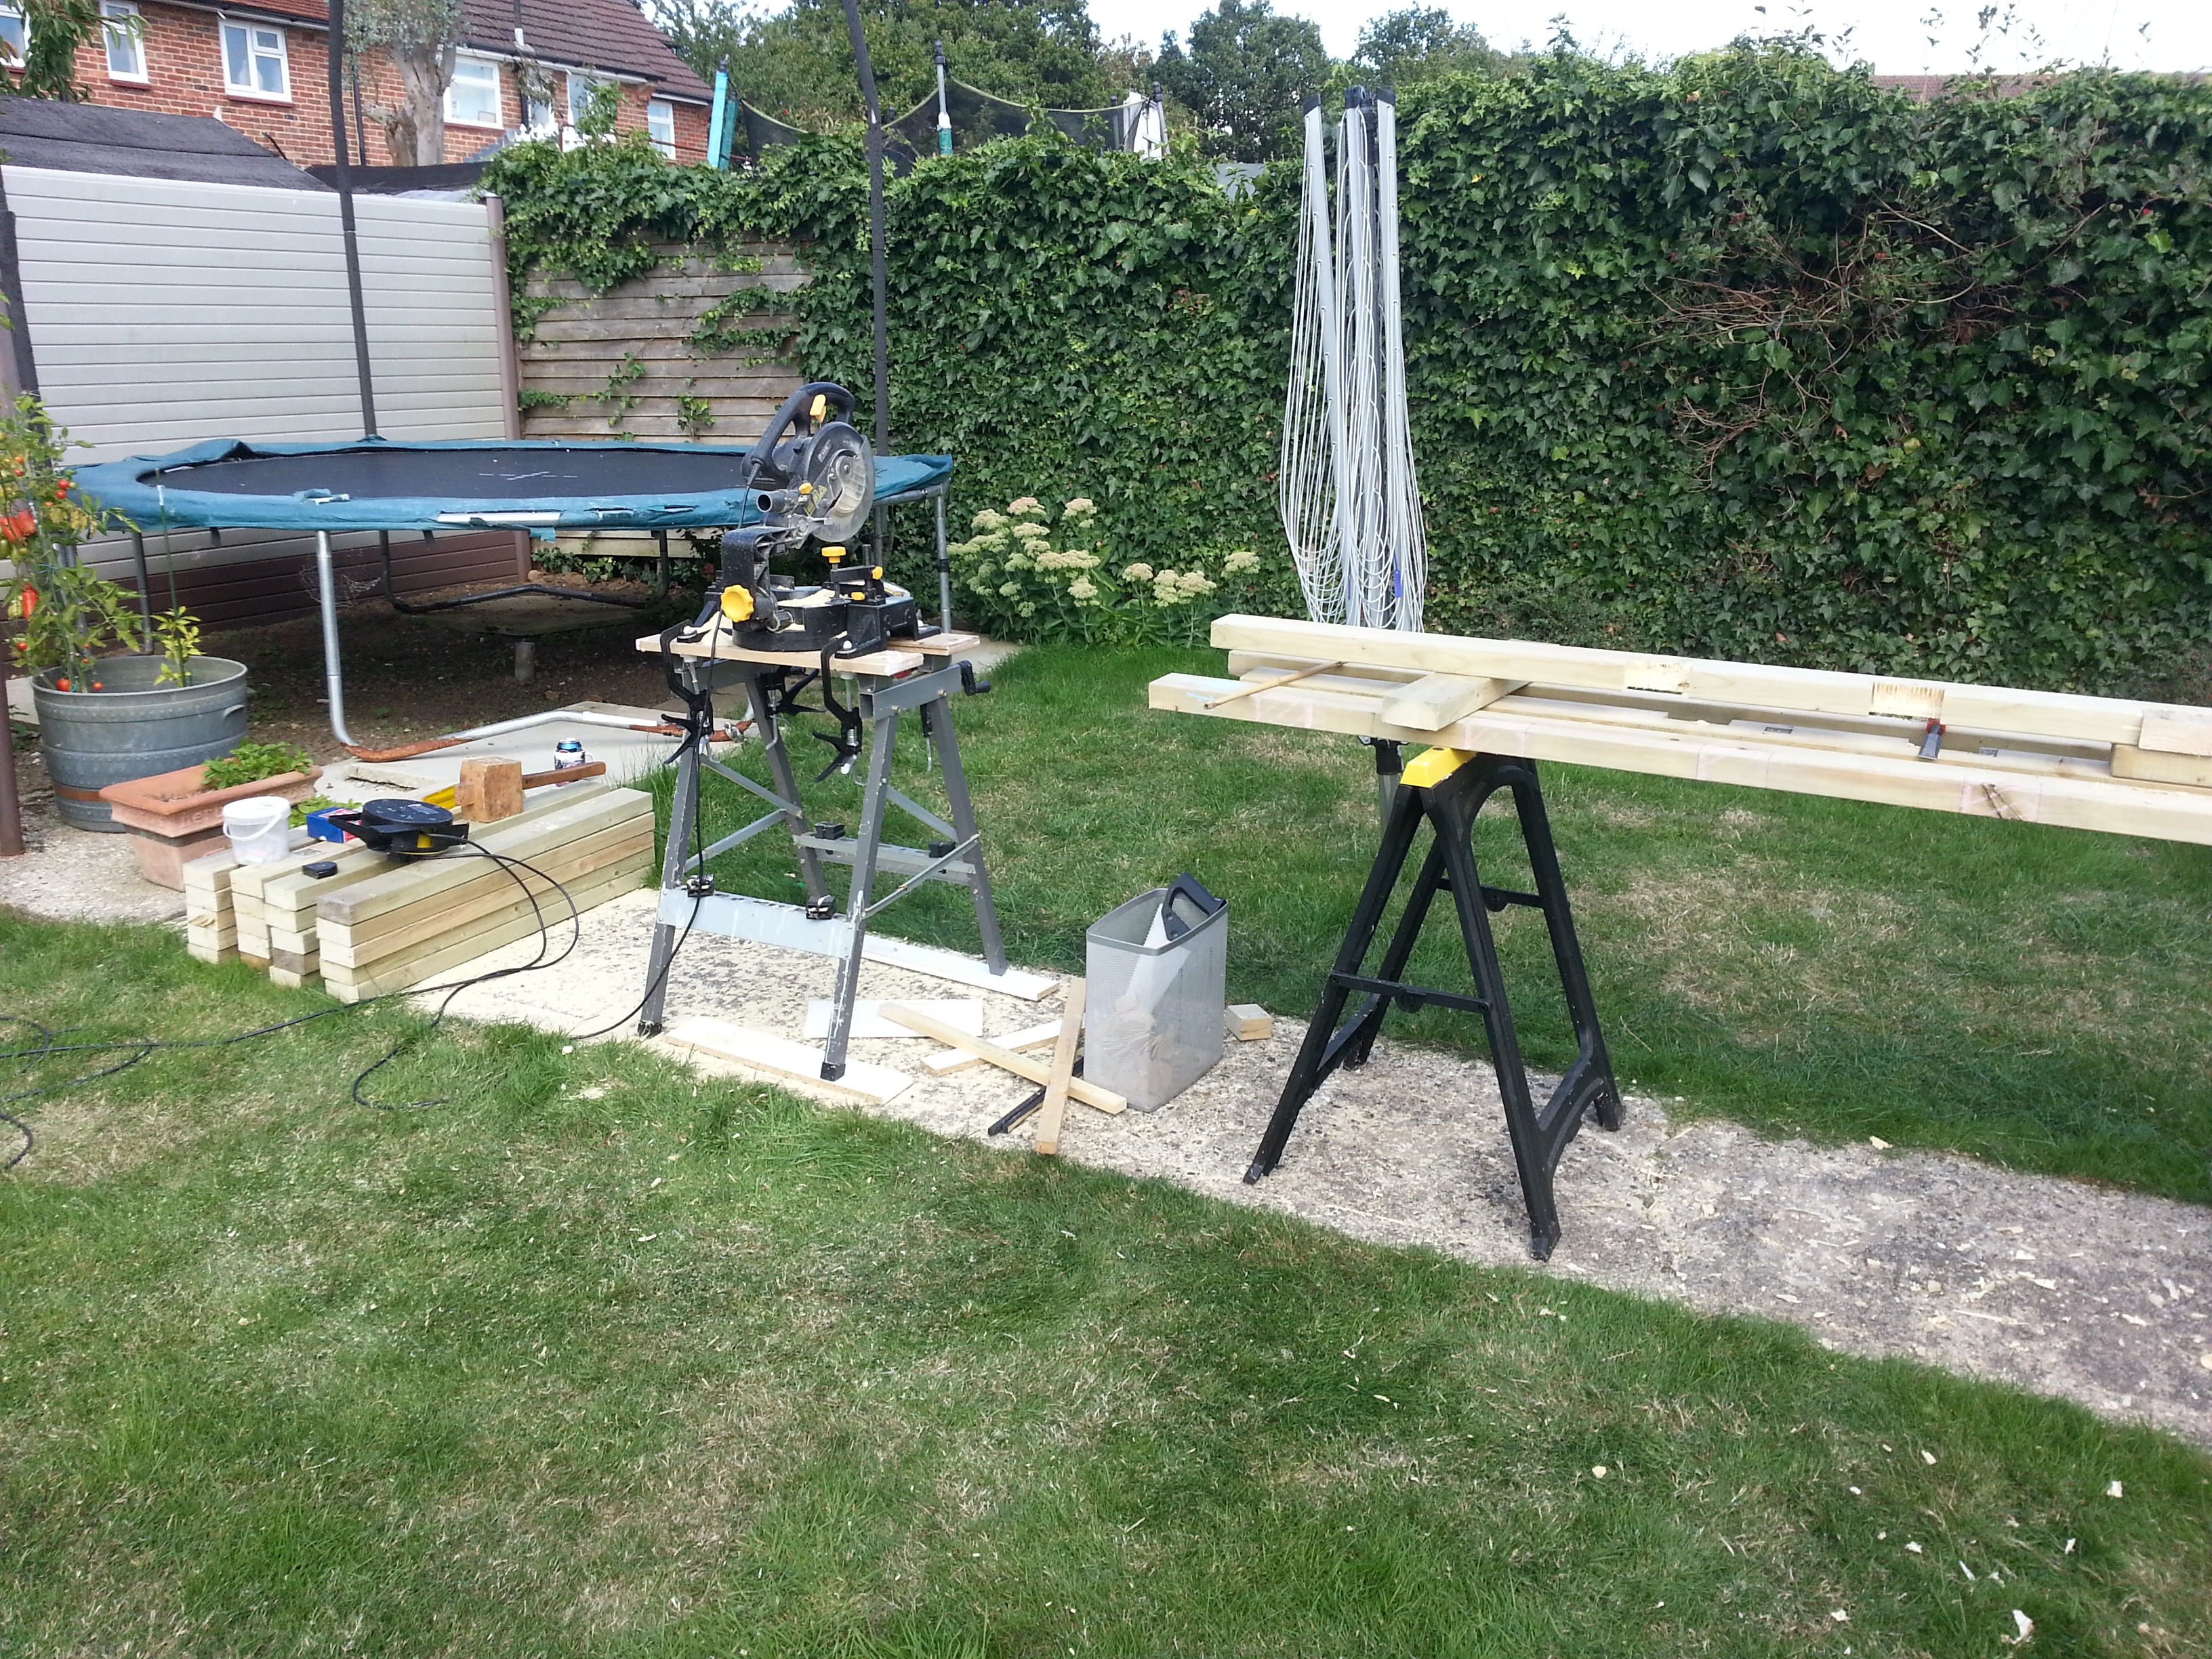
By stacking the working pieces of wood on the saw horses, I was able to approximate the height of the working surface of the chop saw on the work bench. This made it easier to cut the notches in the stiles using the chop saw.
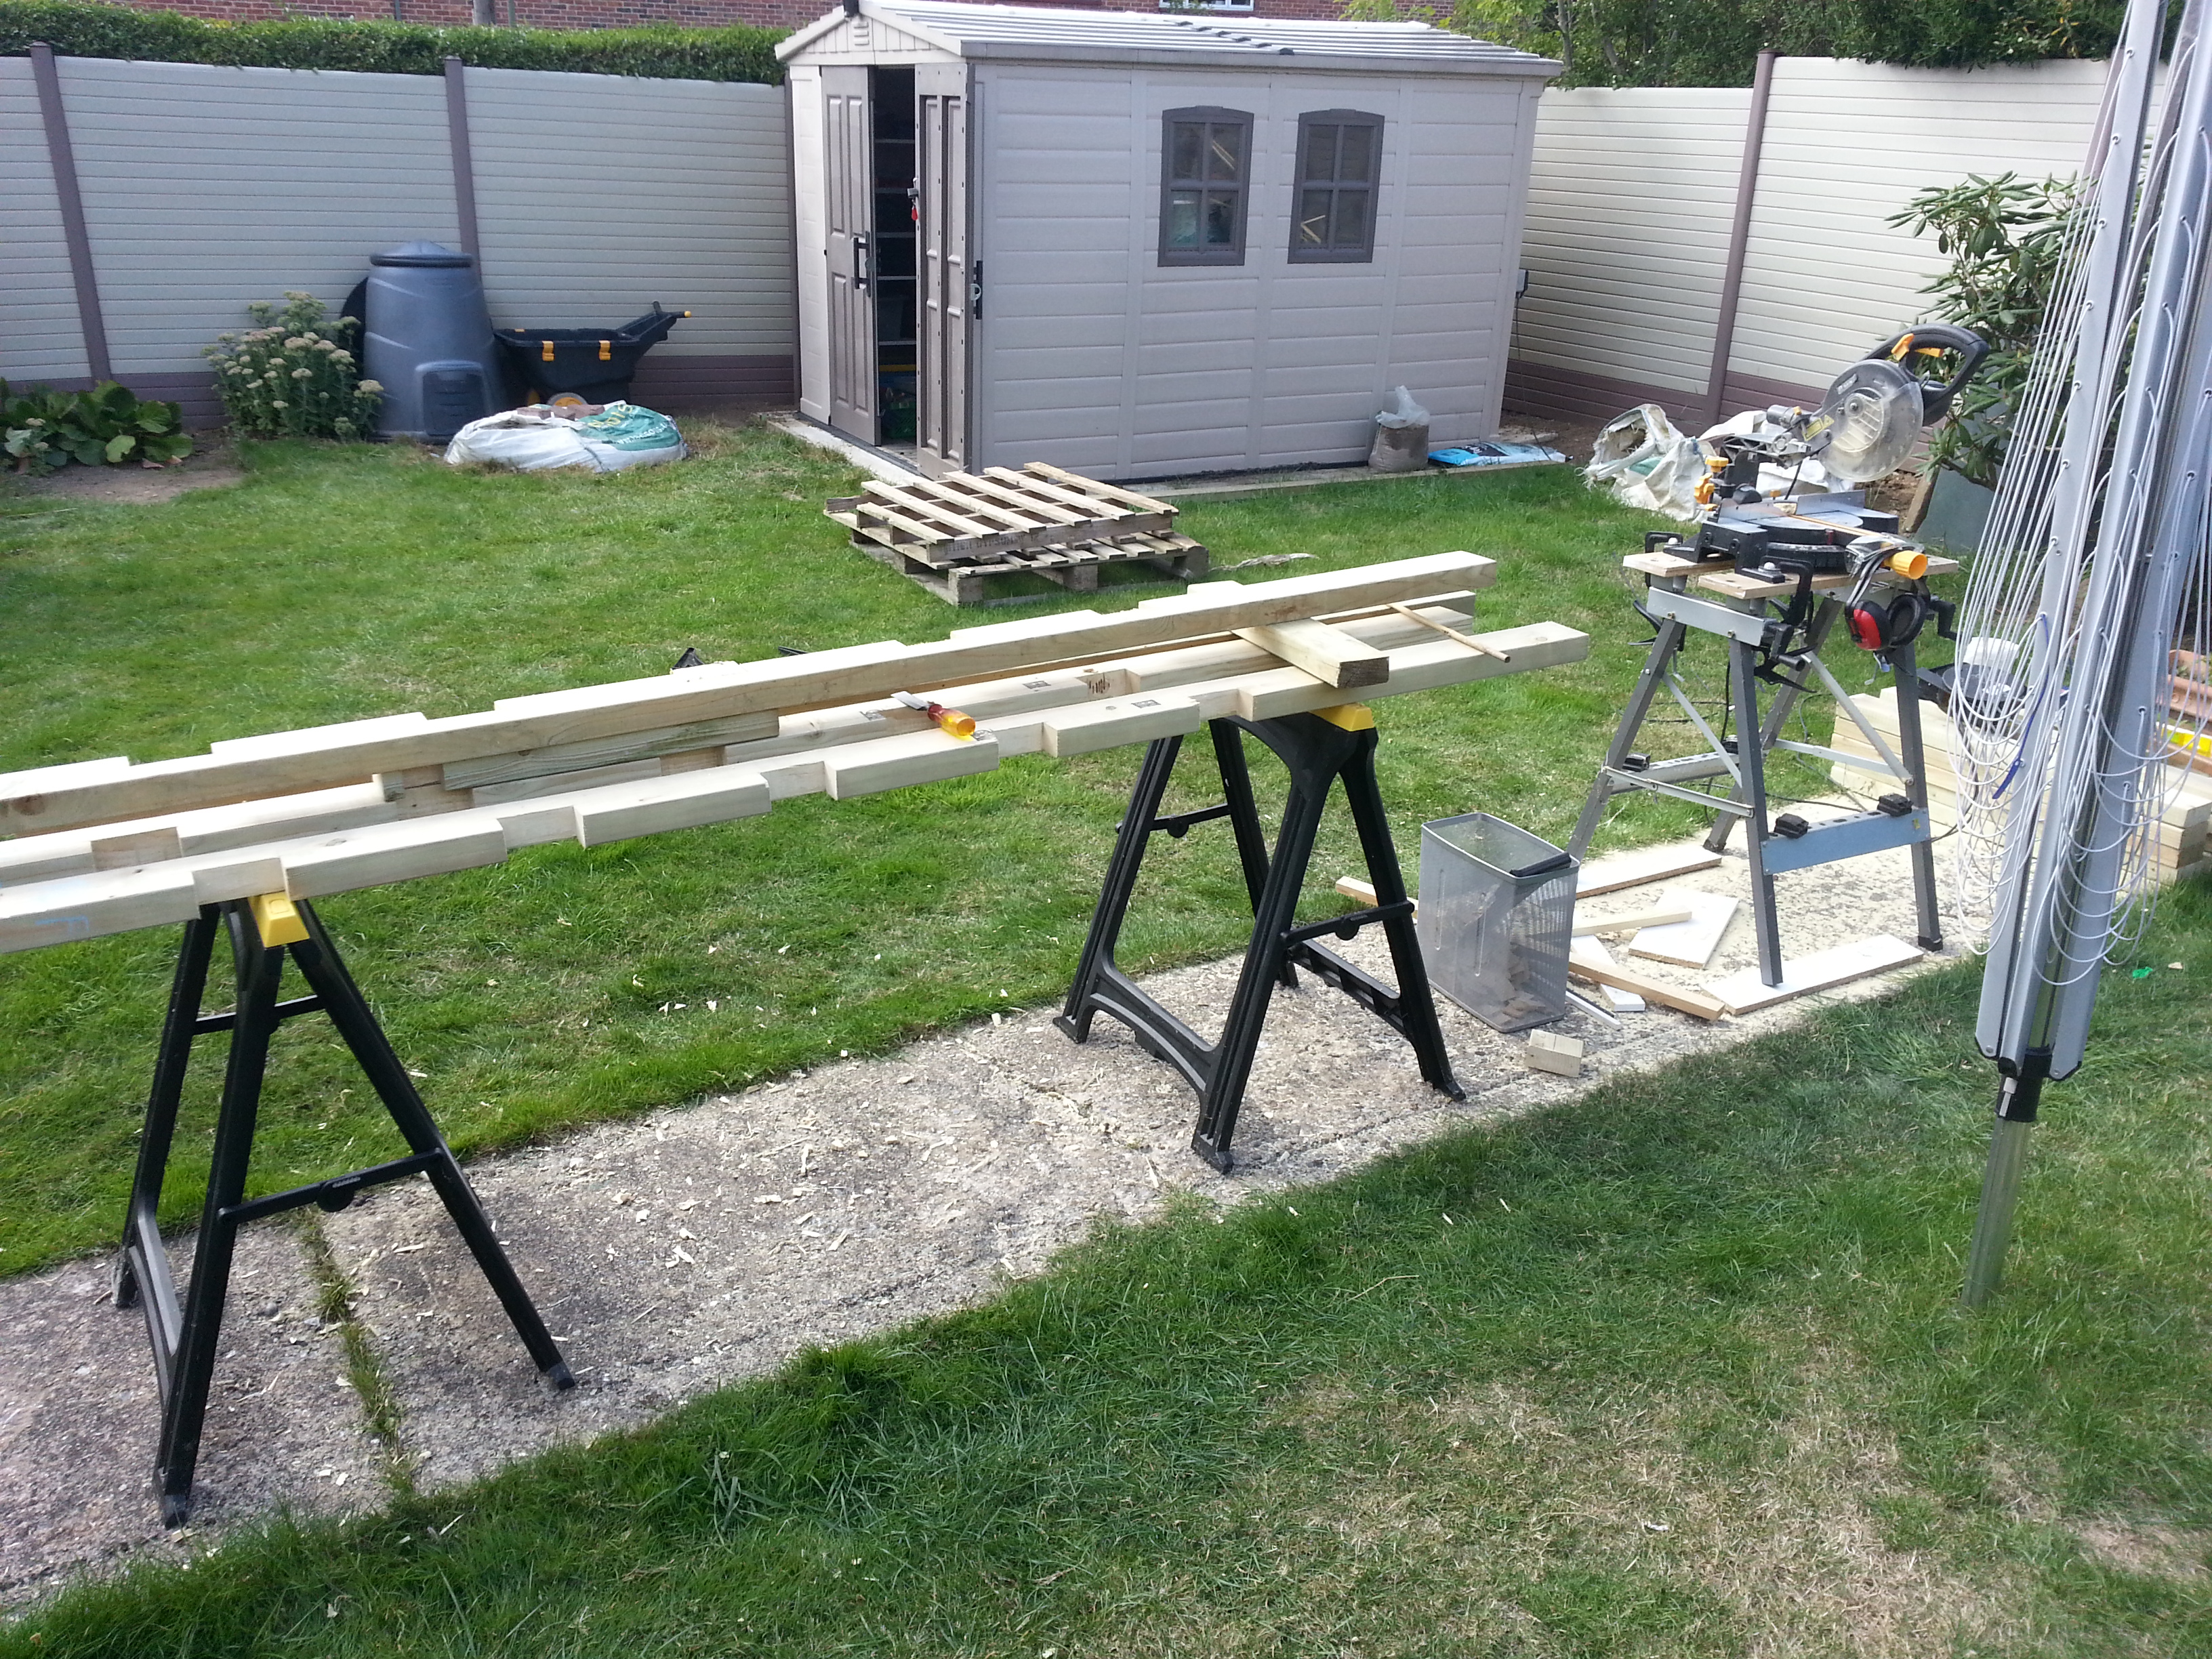
On the right, you can see one complete stile, with notches cut at equal centres. These were marked out on all four pieces of wood in one go, to ensure that they were all at the same height1 and then an offcut drawn around to get an accurate and consistent size for each notch.
The chalk markings are for identification, chalk being both easier to see and easier to remove than pencil. FL is Front Left and FR is Front Right. No prizes for guessing the other codes!
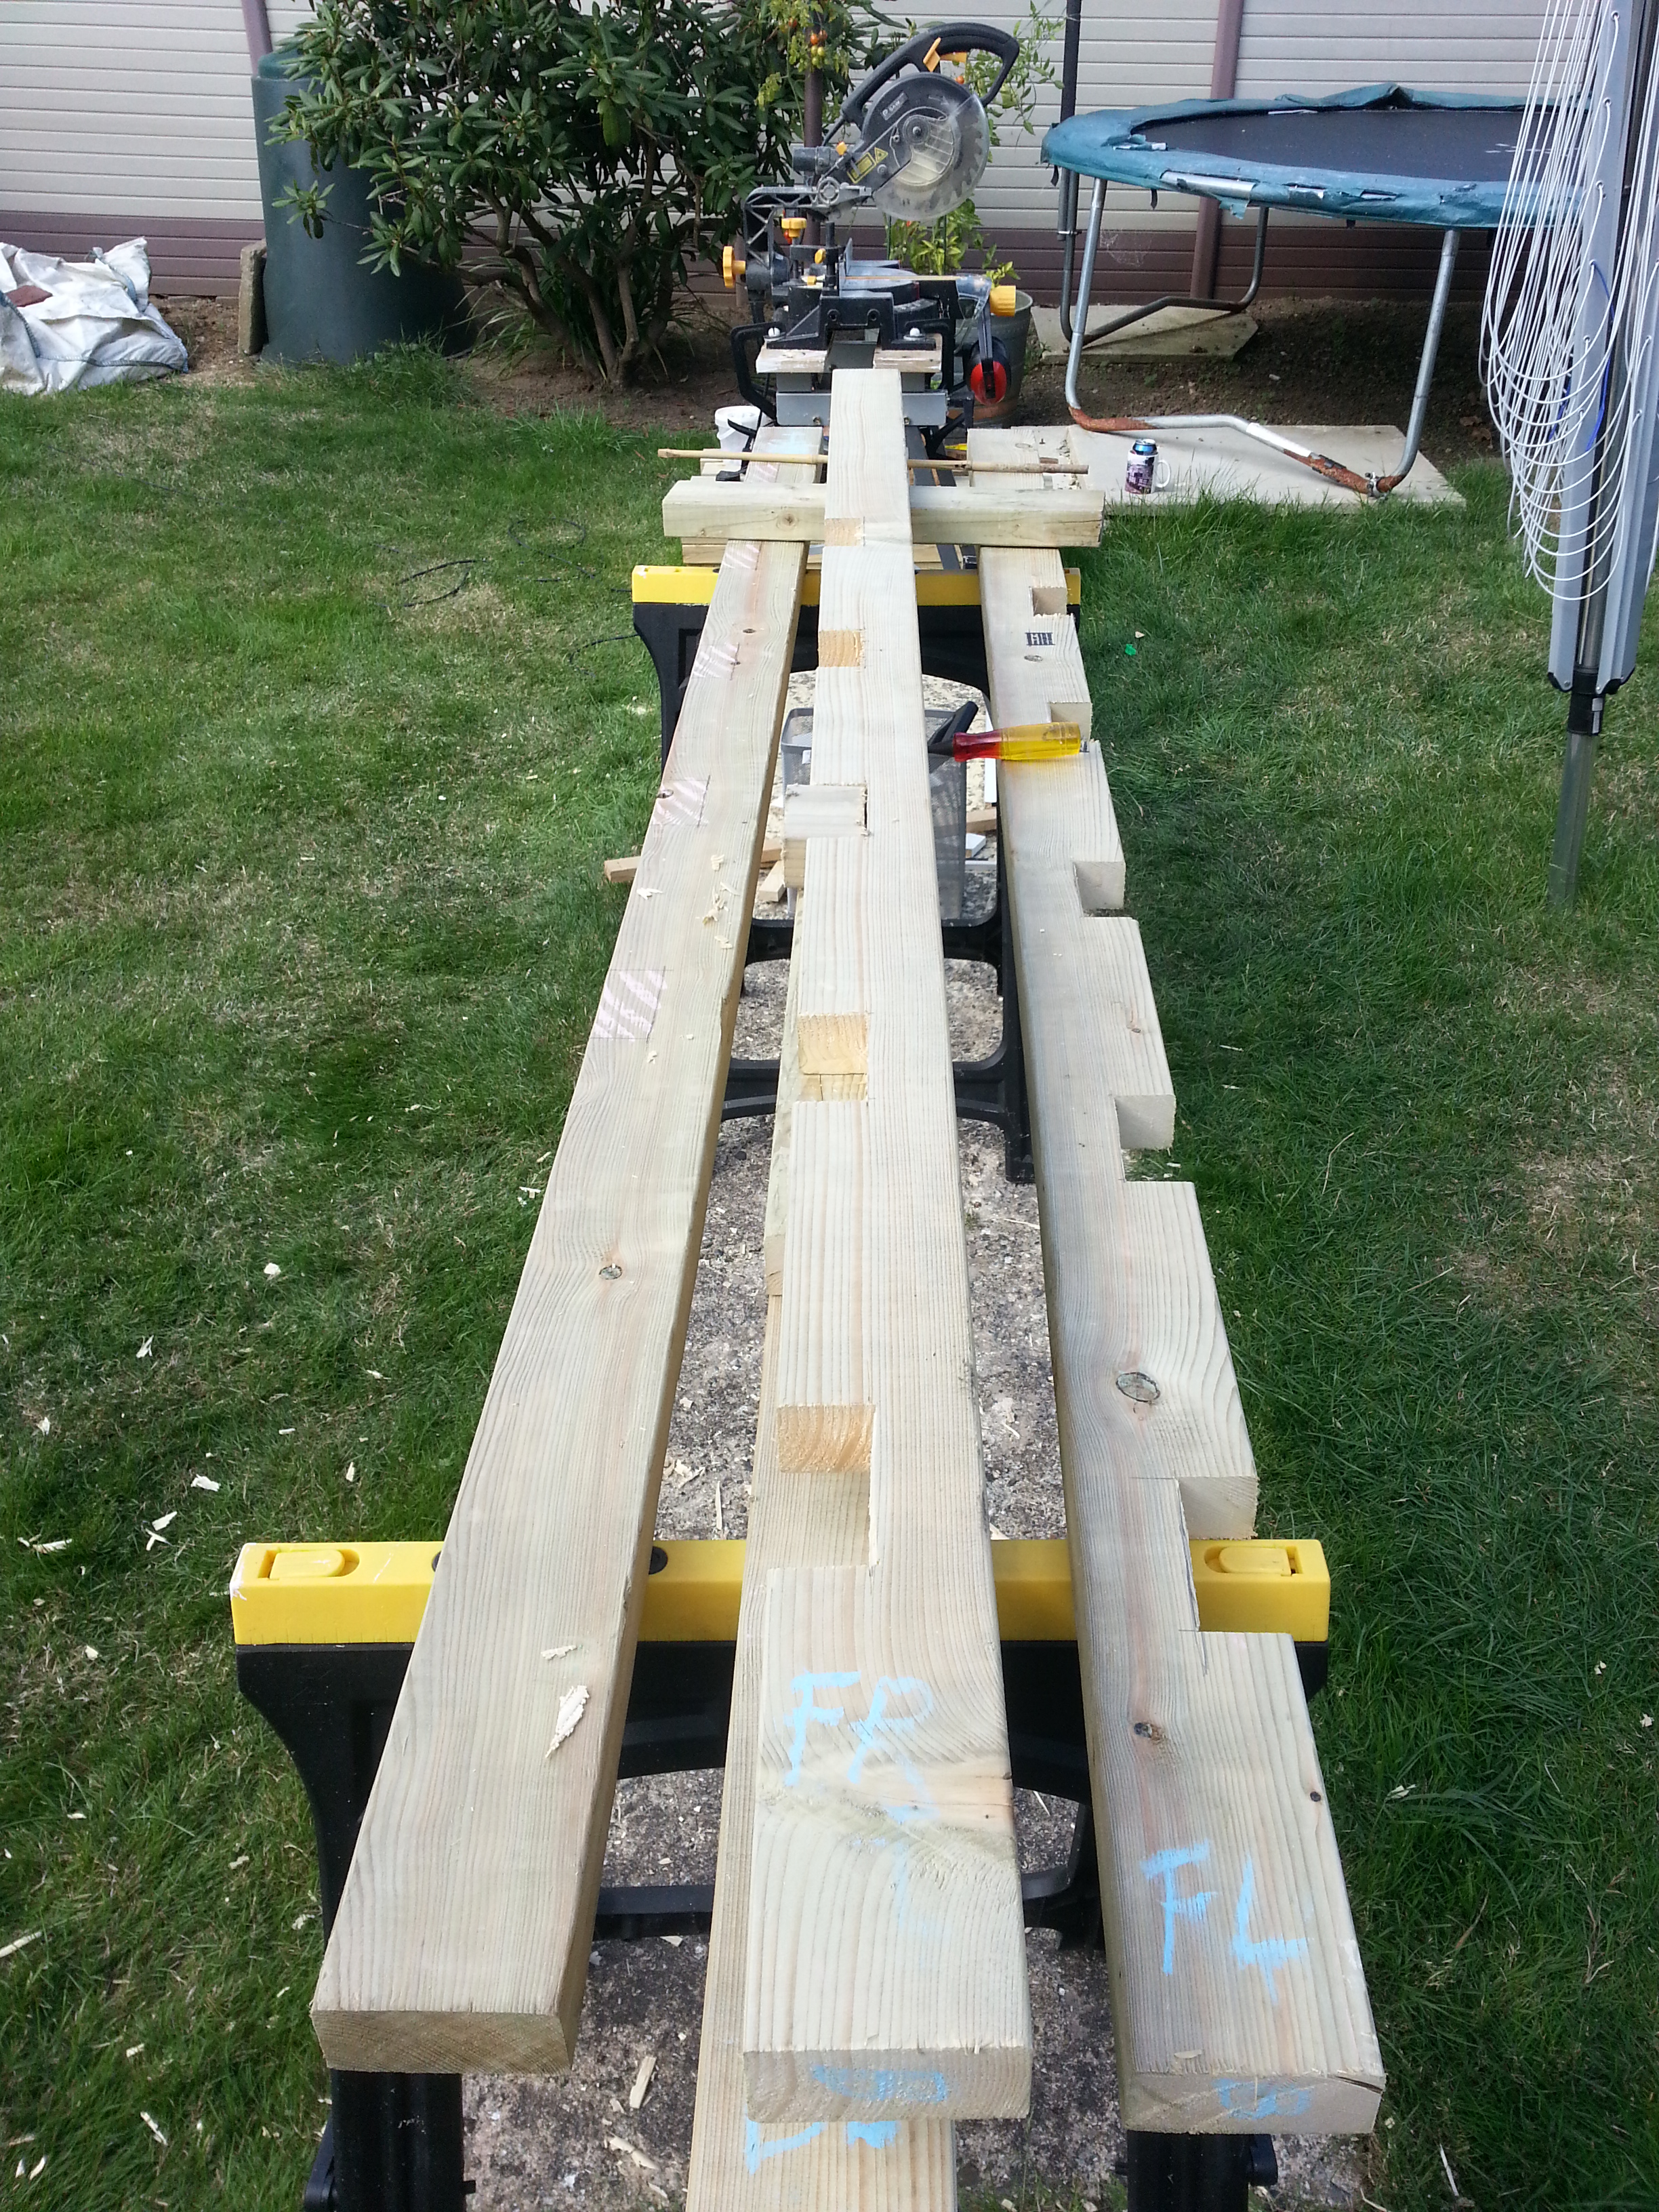
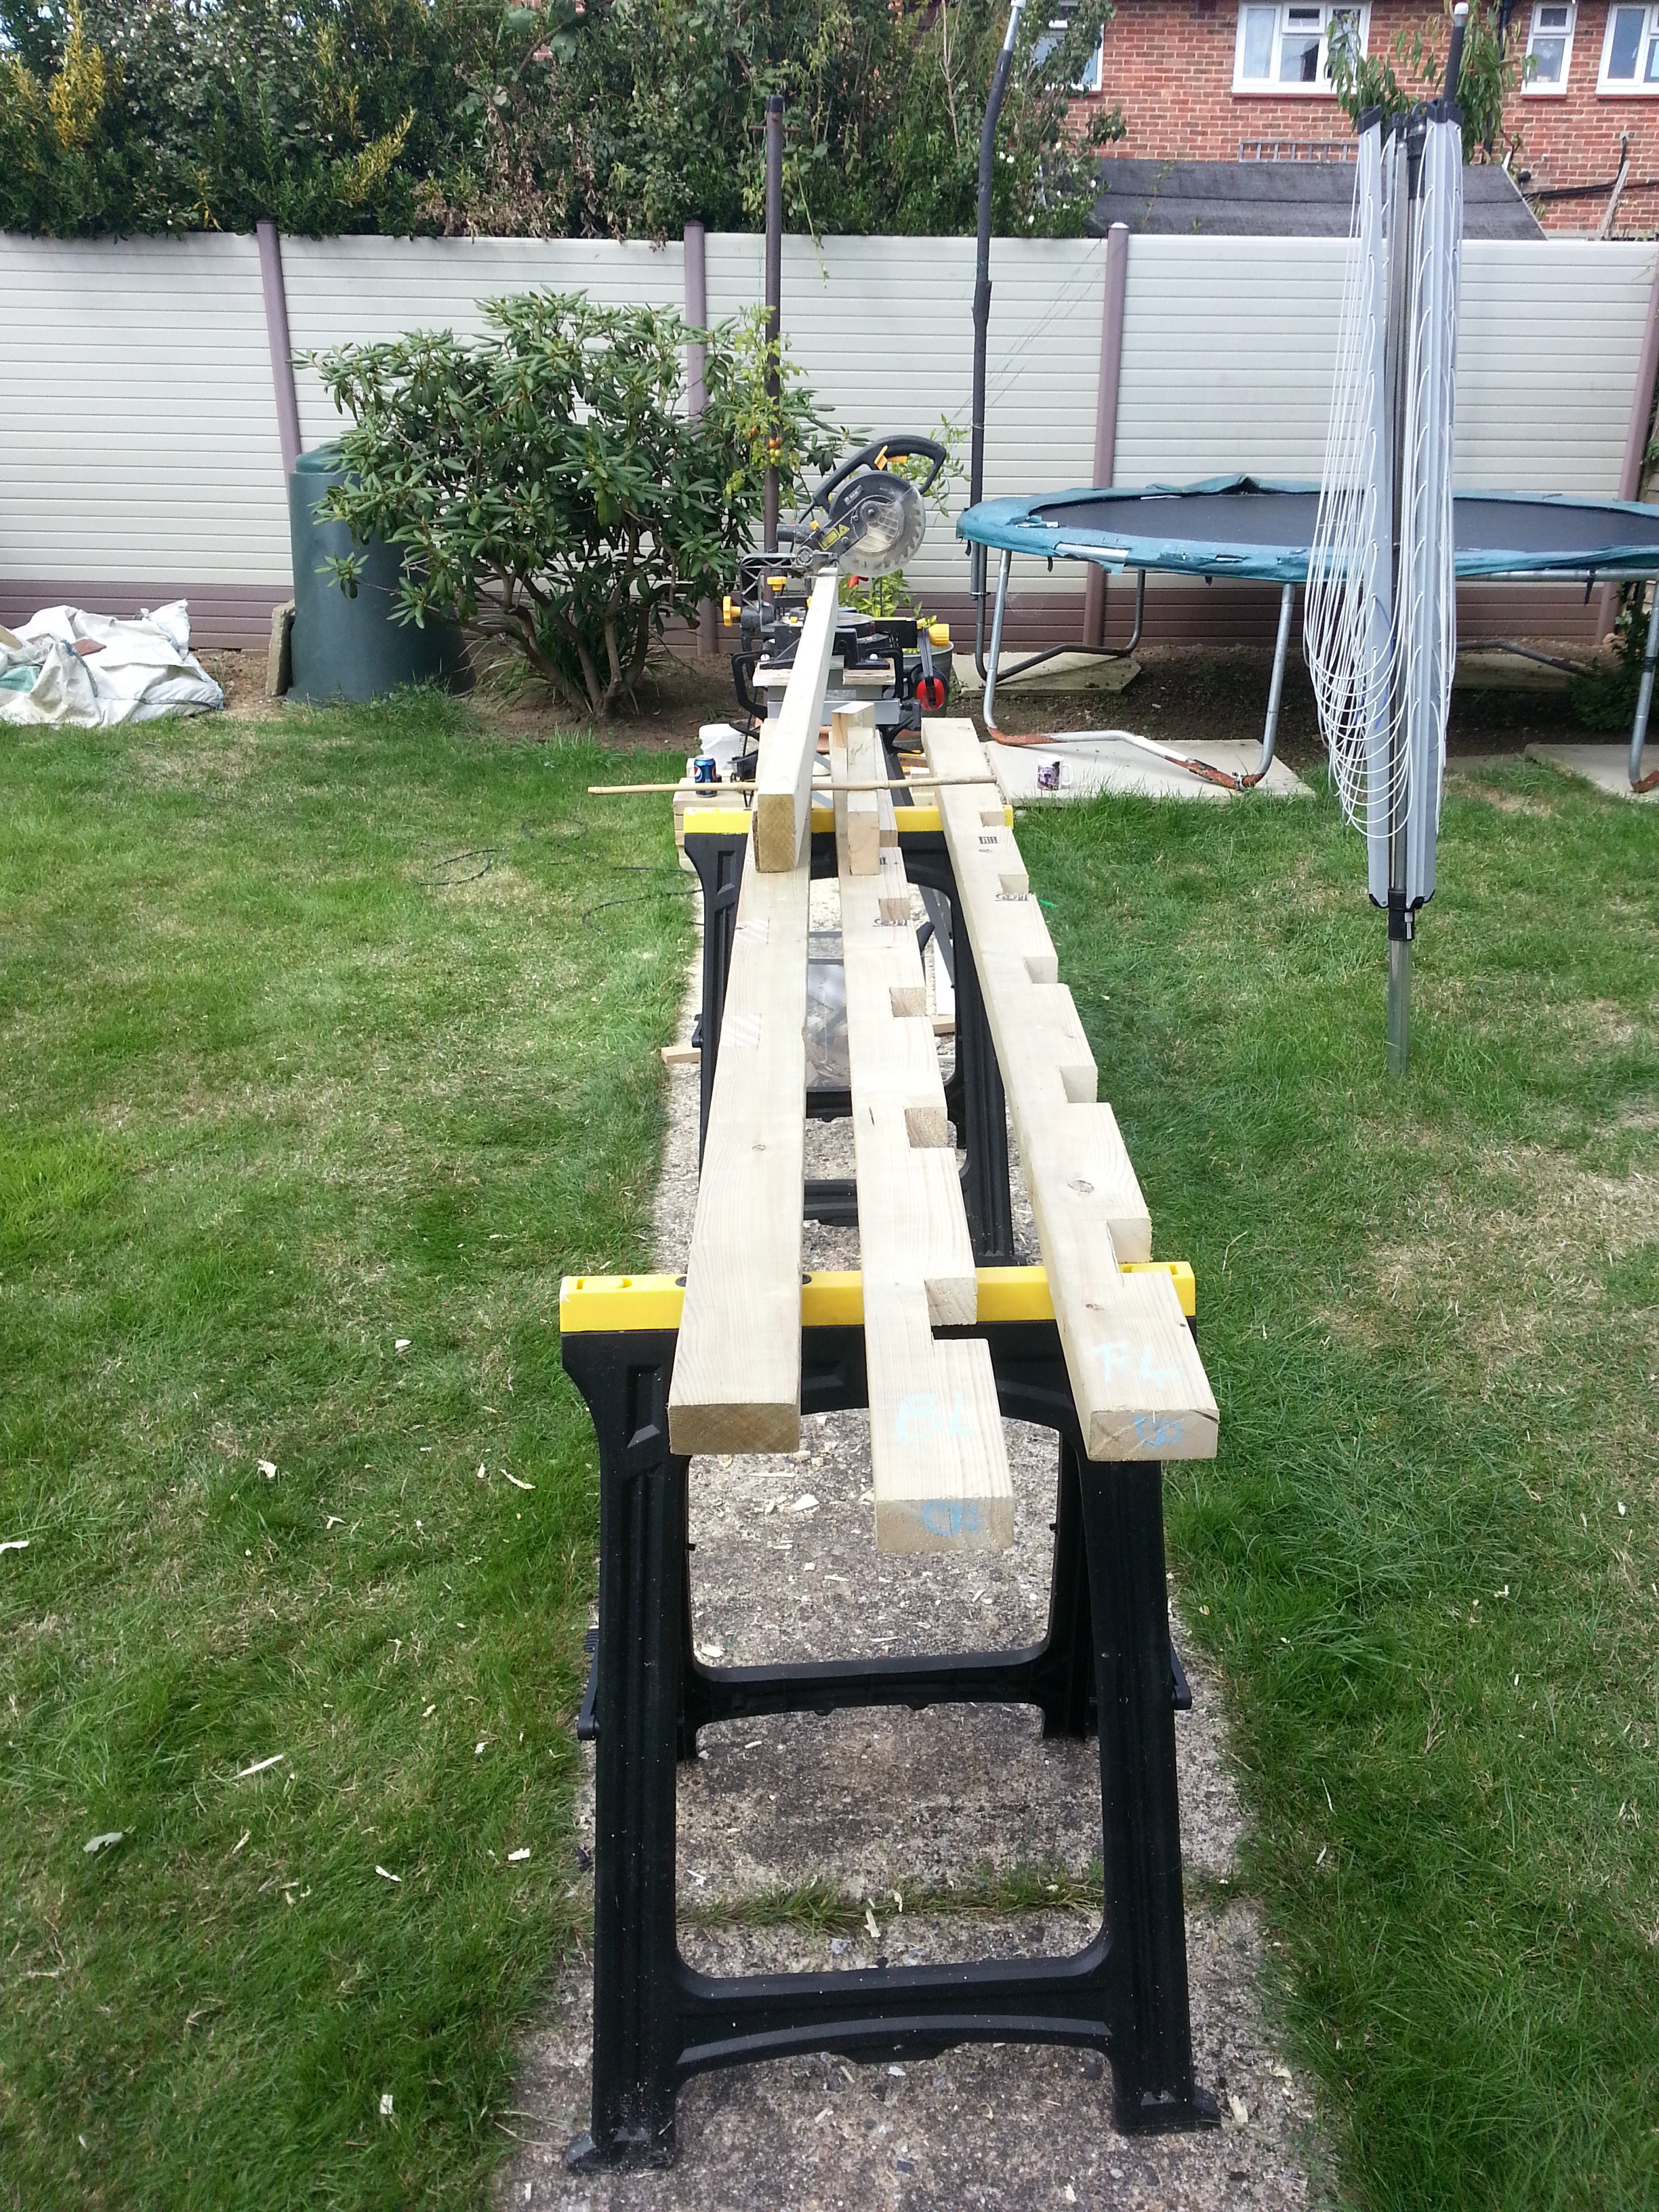
And so the production line continues. Four stiles with five notches in each, plus the initial test piece, makes twenty-one joints to be cut by way of repeated close-spaced cuts using the chop saw. Thirsty work!
Notes
- Cutting notches together only ensures that they are at equal heights on the stiles. It does not ensure that the stretchers end up level because that depends on the floor supporting the styles being level first!