Designing a kit of parts
Having designed the drawers roughly, both on paper and in my head, and purchased the wood, the next stage was cutting it all out. As the four drawers are all to be the same, I decided to make the first drawer a kit of parts, and use jigs for assembly.
I took the precaution of cutting two thin pieces of wood to the width between the installed drawer runners. Obviously, the drawers couldn’t be wider than this dimension, and these jigs enabled me to check without using the tape measure.
After discussion with the customer, my Dear Lady Wife, the design was slightly altered to include a low front on each drawer which would double as a handle.
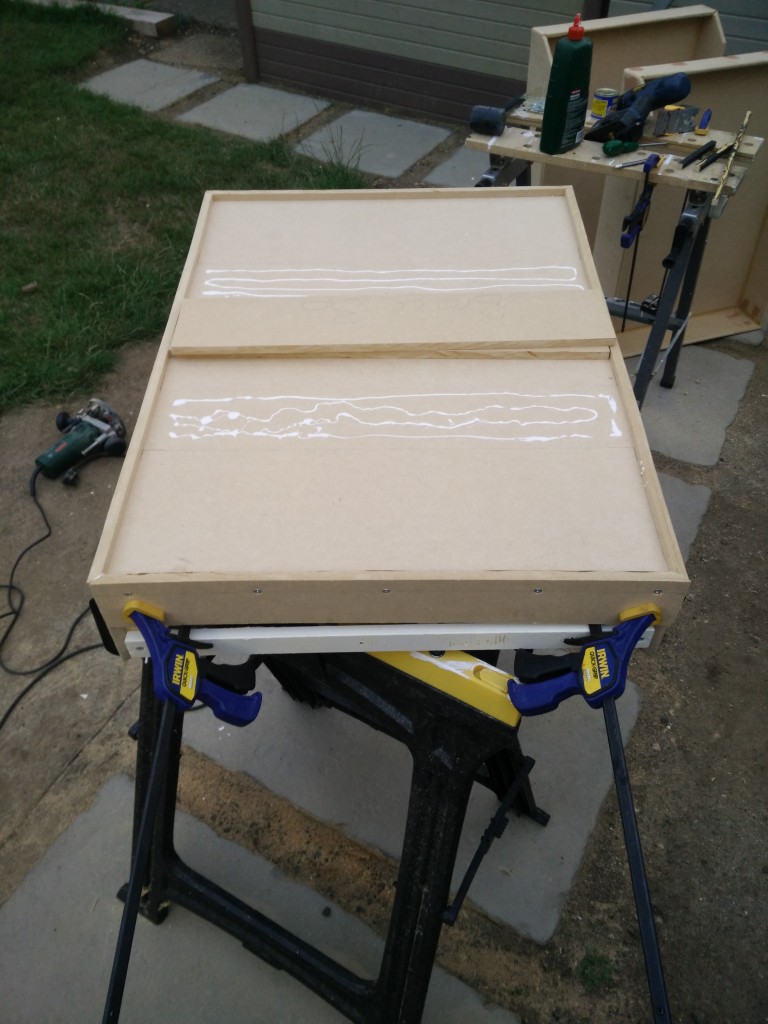
Unfortunately, I didn’t take many photos during construction, so you’ll have to pair my narrative with the above photo. The drawers are not at all complex, being four sides of 12mm MDF around a 12mm MDF base which was rebated into the sides and braced by two stiffening braces, placed where the glue is above.
The sides were further mitred together, for a stronger and neater joint than a butt joint, and screws used to hold it all together whilst the glue set up. All edges were rounded over using a ¼” round-over bit in the router, making a half-round profile on all exposed edges. Finally, ¼” quadrant was glued underneath as a further brace.
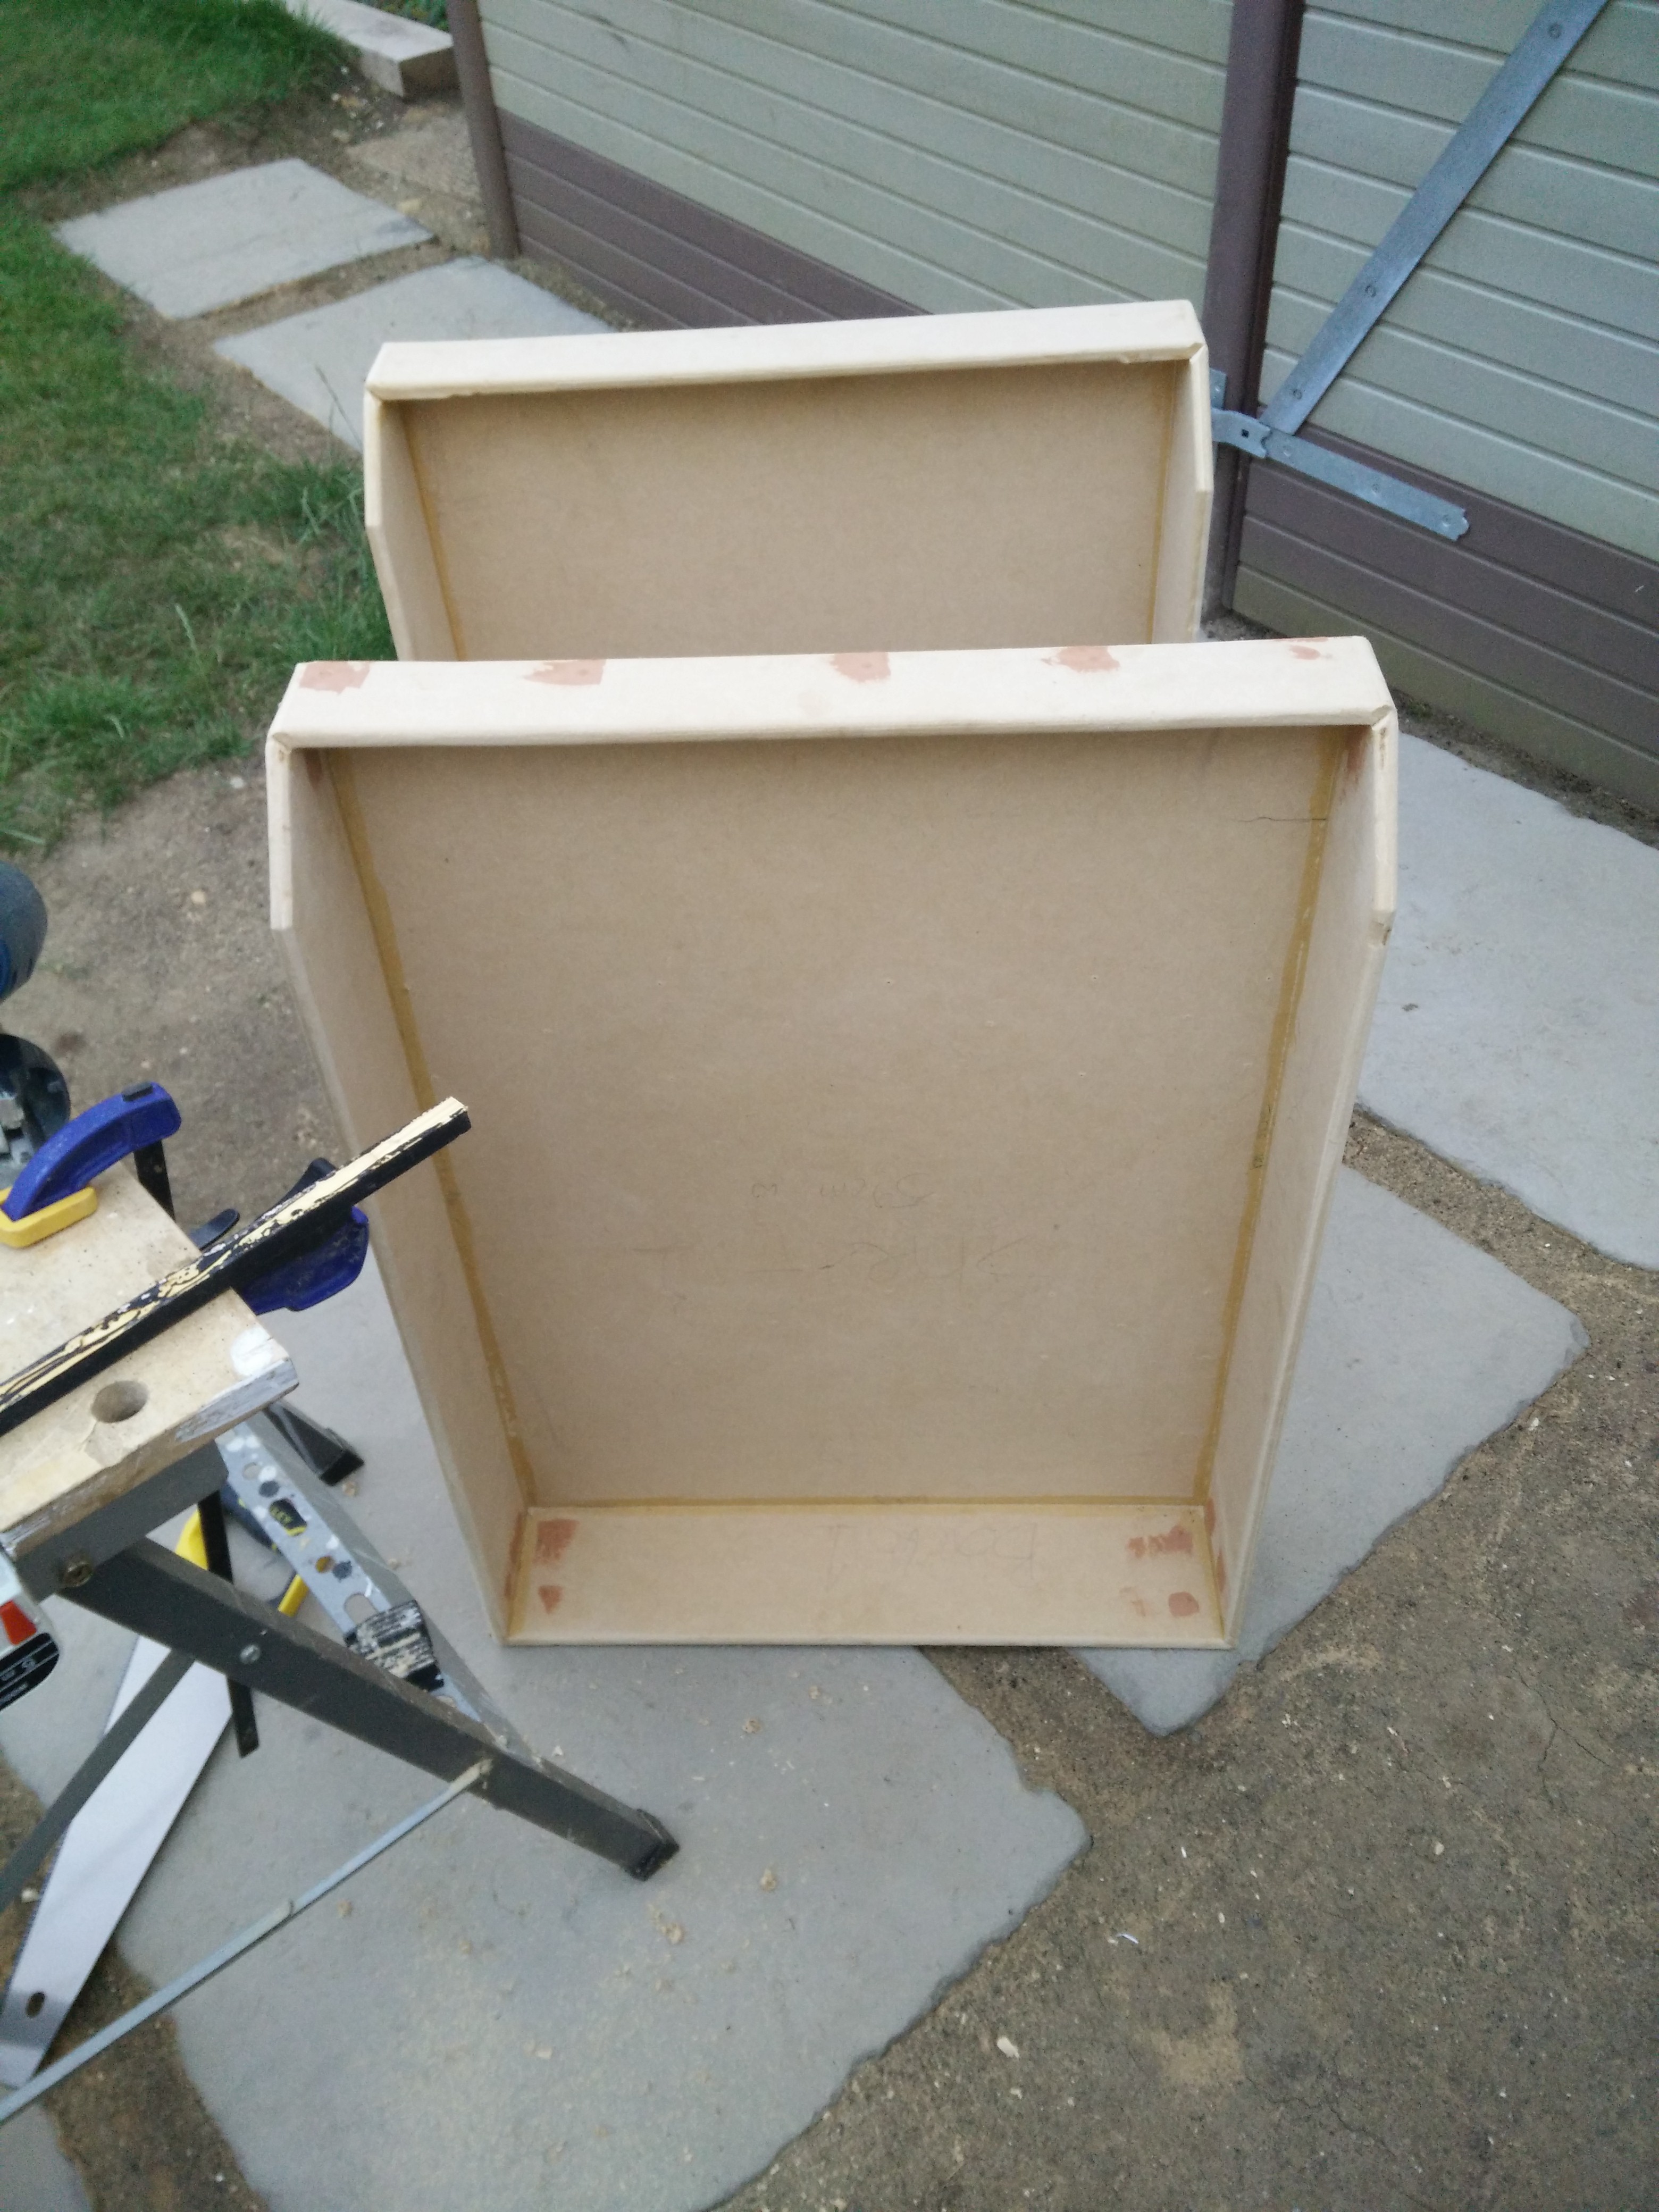
Constructing the first drawer took time, as all measurements needed to be double-checked to be sure that everything was square and, more importantly, was going to fit in the hole!
A bead of glue was run around the inside of all joints as well, for strength, after which the screws were removed and recycled. Good old-fashioned Brummer was used to fill all the screw holes and was sanded flat after it dried.