Time for some paint
Having left the completed sides in the cupboard for a couple of weeks to stabilise, it was time to add some primer and undercoat. That meant that both sides had to take the trip back down the stairs, through the back door and out into the garden, only to come back again. I suppose I could have disassembled them but I’d done those screws up so tight!
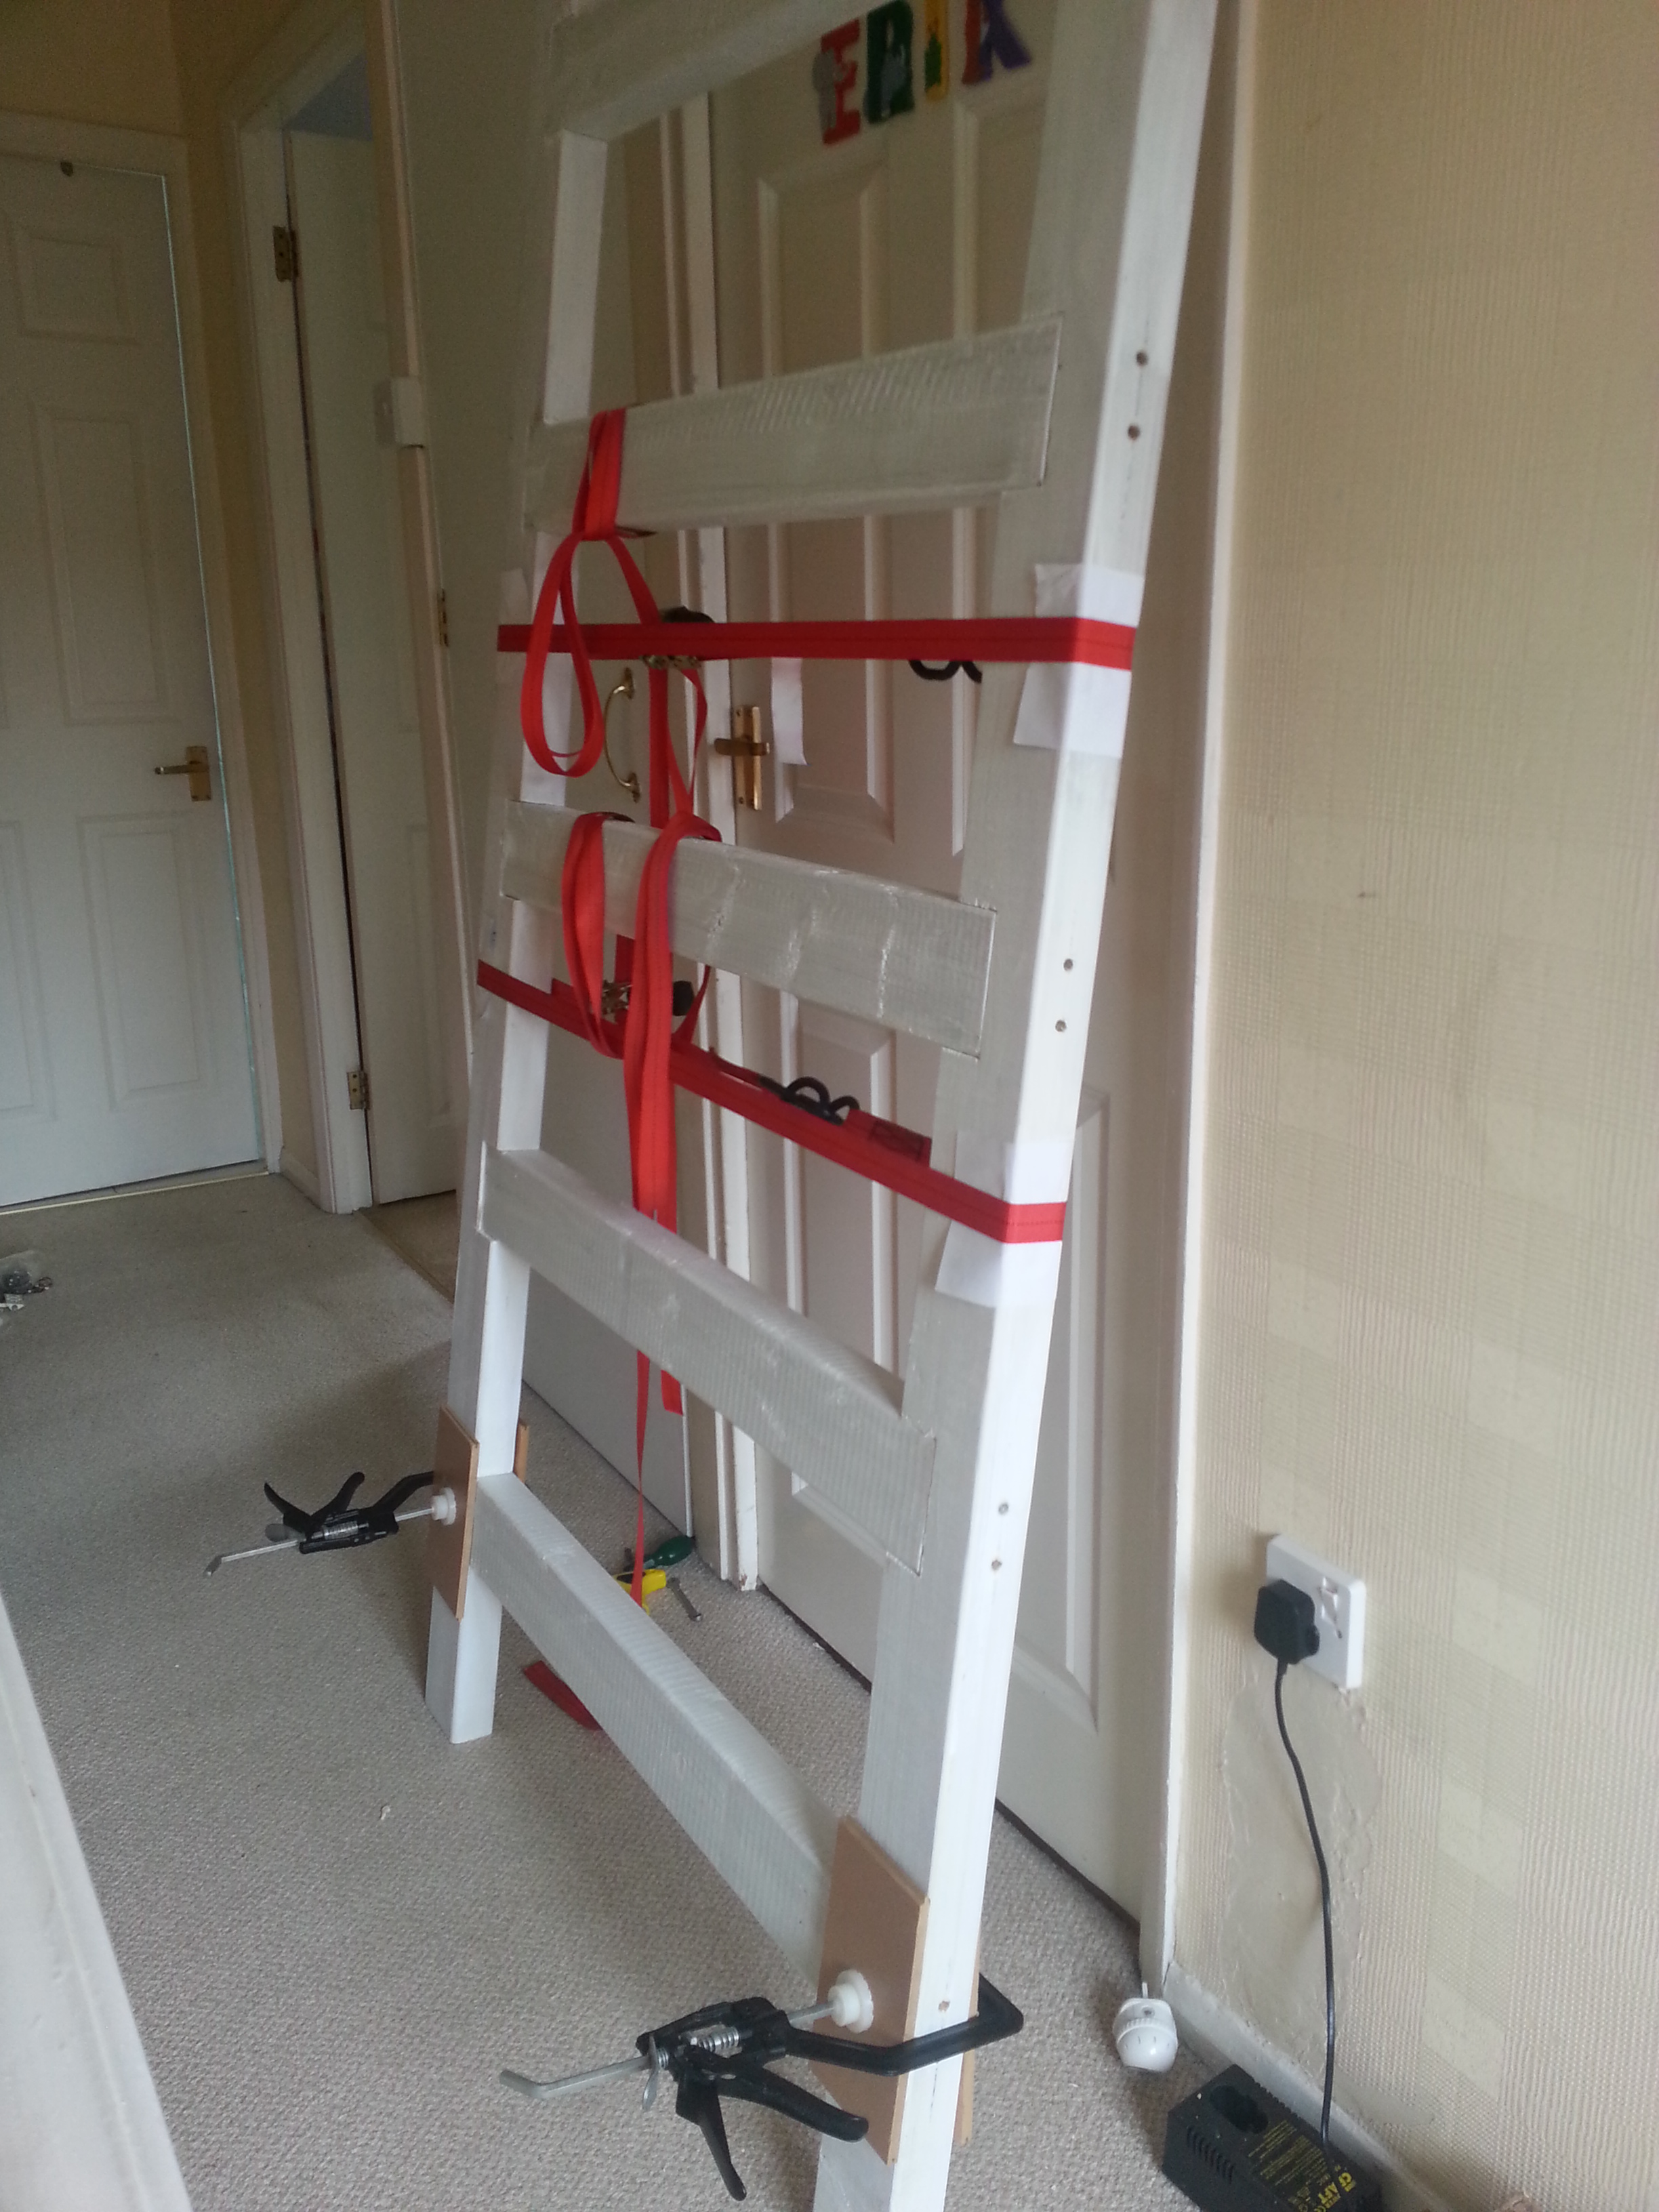
Here is the ingenious clamping method I devised to put the assembly pressure into the piece so I wasn’t having to apply it via the screws. In short, it made it a lot easier to drive the screws completely home. Again, no glue was used at this stage as it was unnecessary.
And one assembled rack installed. Friction is enough to hold it in place against the wall, as the installed shelves will complete the three-dimensional structure.
As luck would have it, in spite of the dangerous assumption made about level floors, all ten of the stretchers turned out to be level. That’s a stroke of luck, believe me!
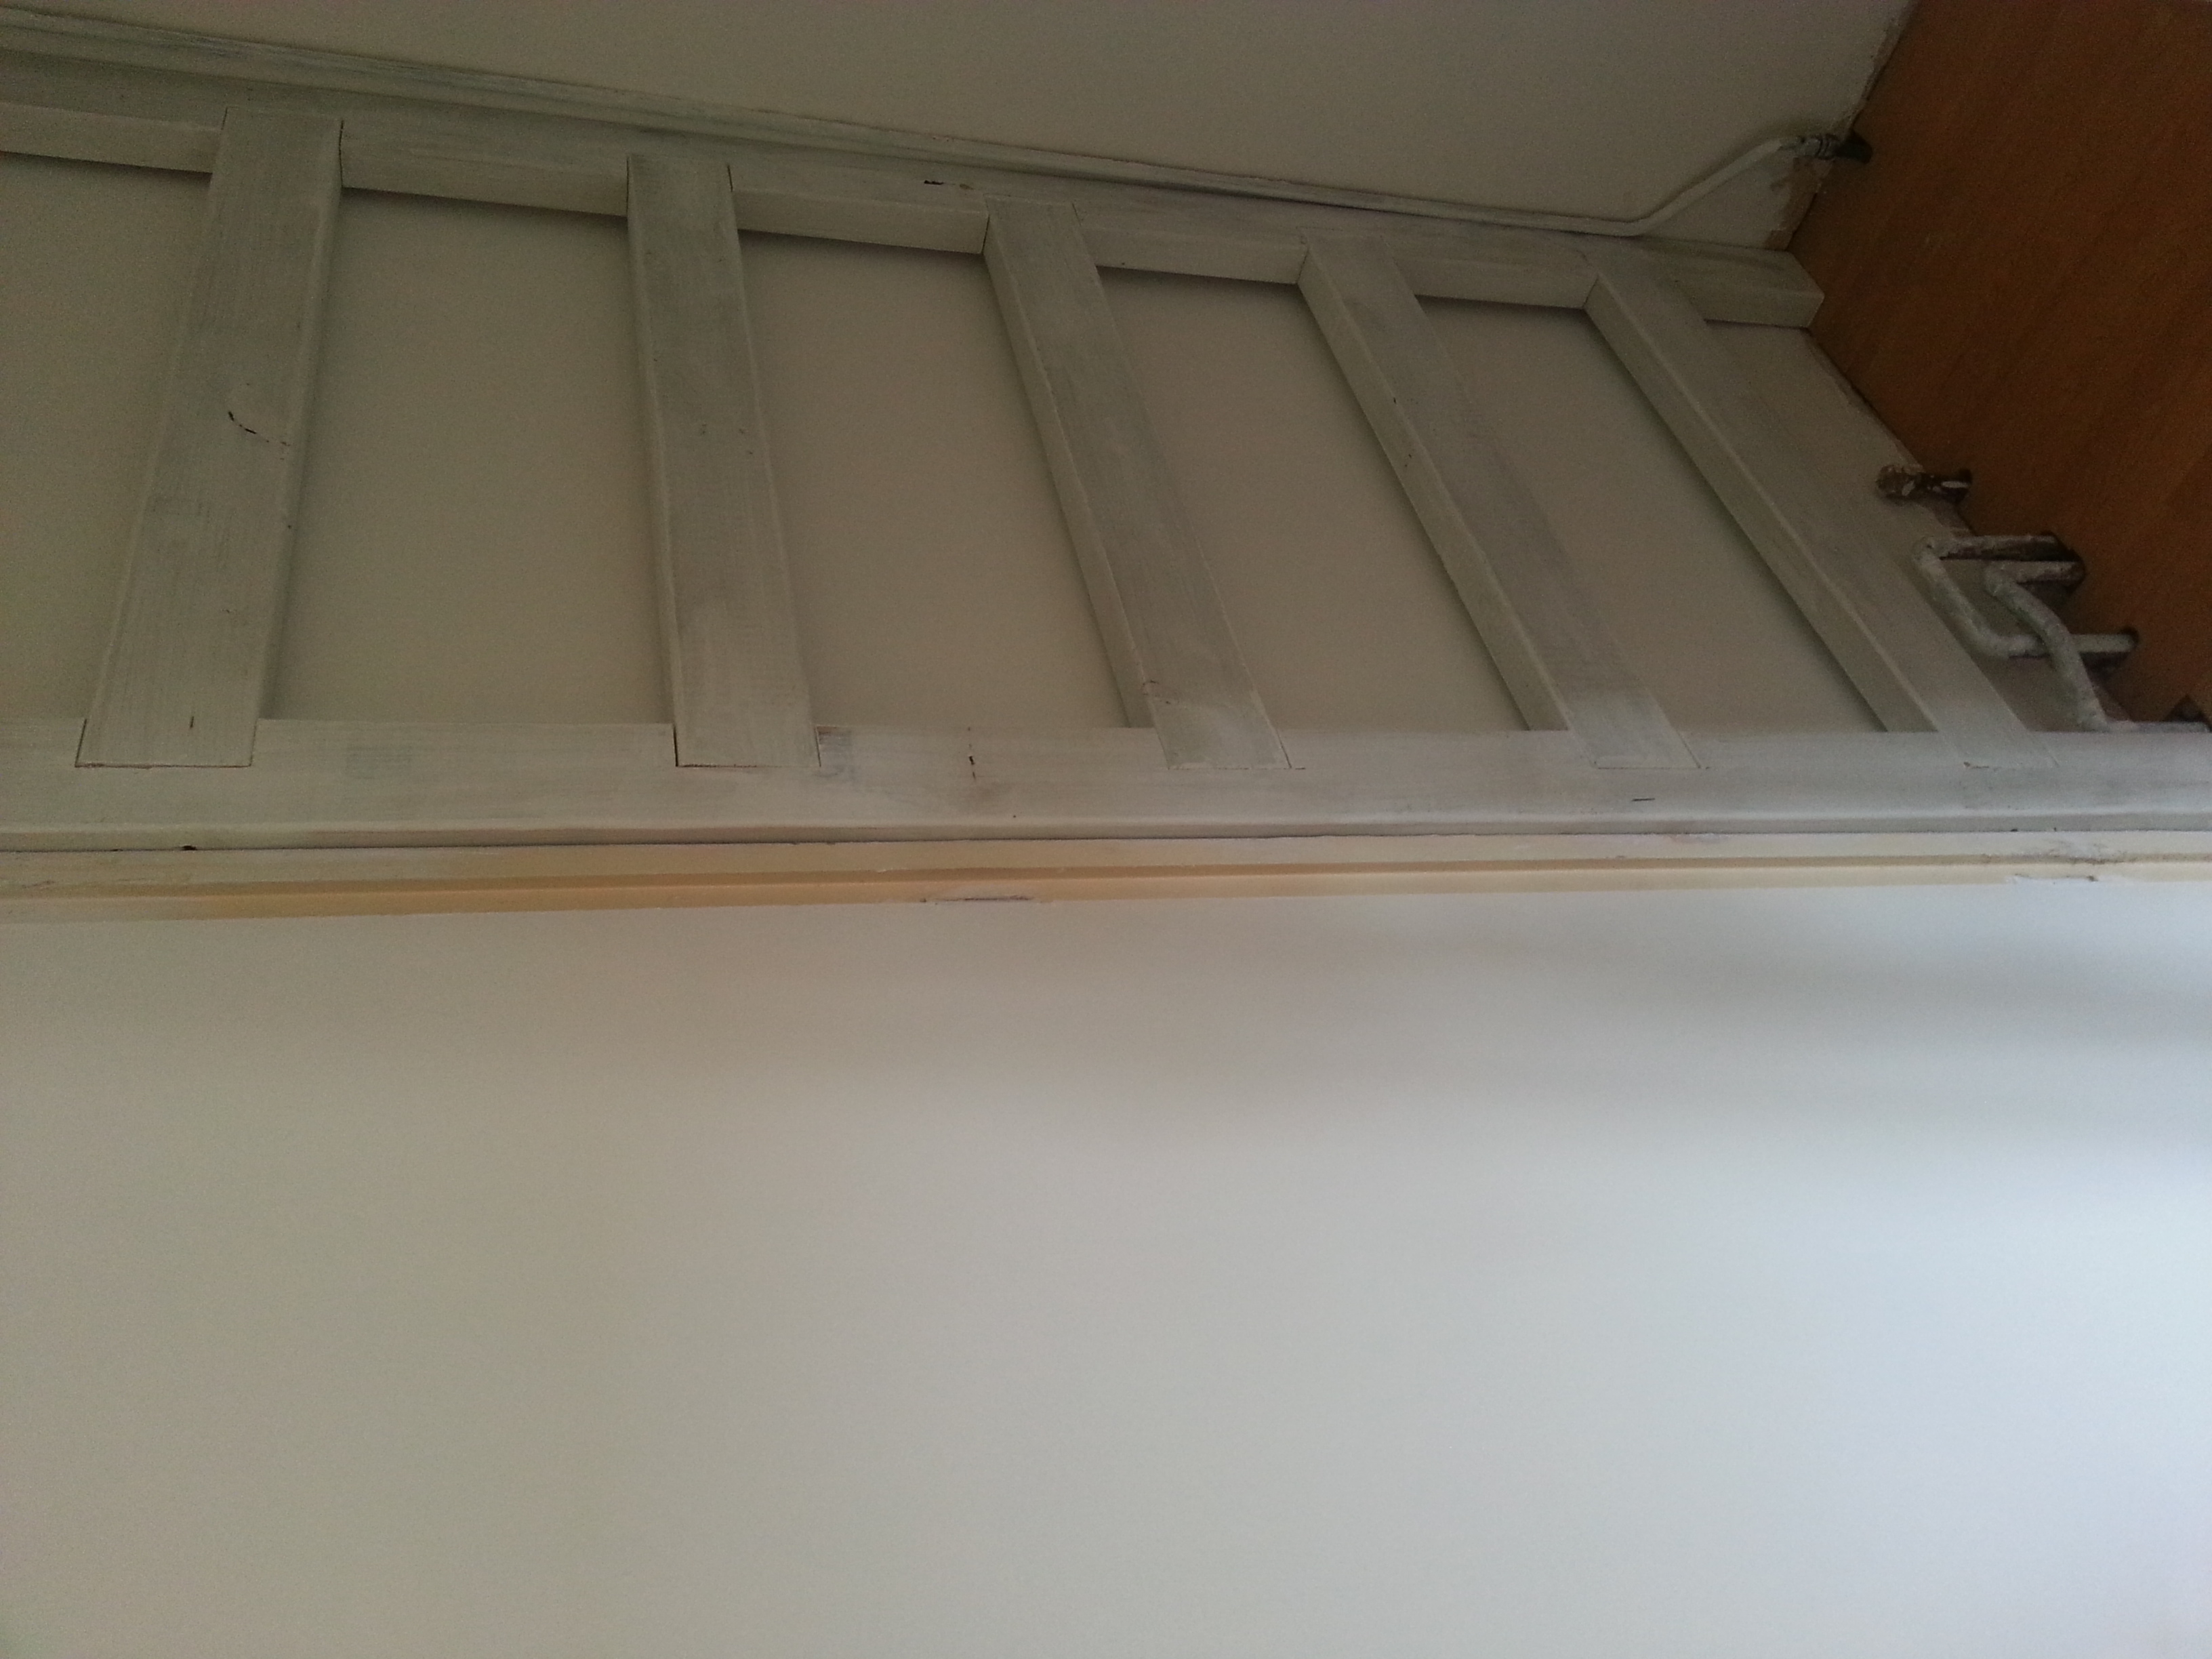
In the previous report on this project, I alluded to a mistake waiting to bite me in the backside, and it did! If you compare the numbering of the stretchers on each side in the photos, one goes up from the floor and the other down from the top.
Well, guess who forgot? Worse than that, I put the first (right-hand) side together wrong and tested it, realised my mistake and assumed that I’d made the same mistake both sides, so disassembled and reassembled both!
Of course, on getting both sides back upstairs and installing them again, I found that I had to swap the left-hand side back again. Twenty screws which had all been done up to final holding tension, requiring realignment, reclamping, etc.
Finally though, two sides constructed and assembled. Only top coat of paint required now.