Checking the fit
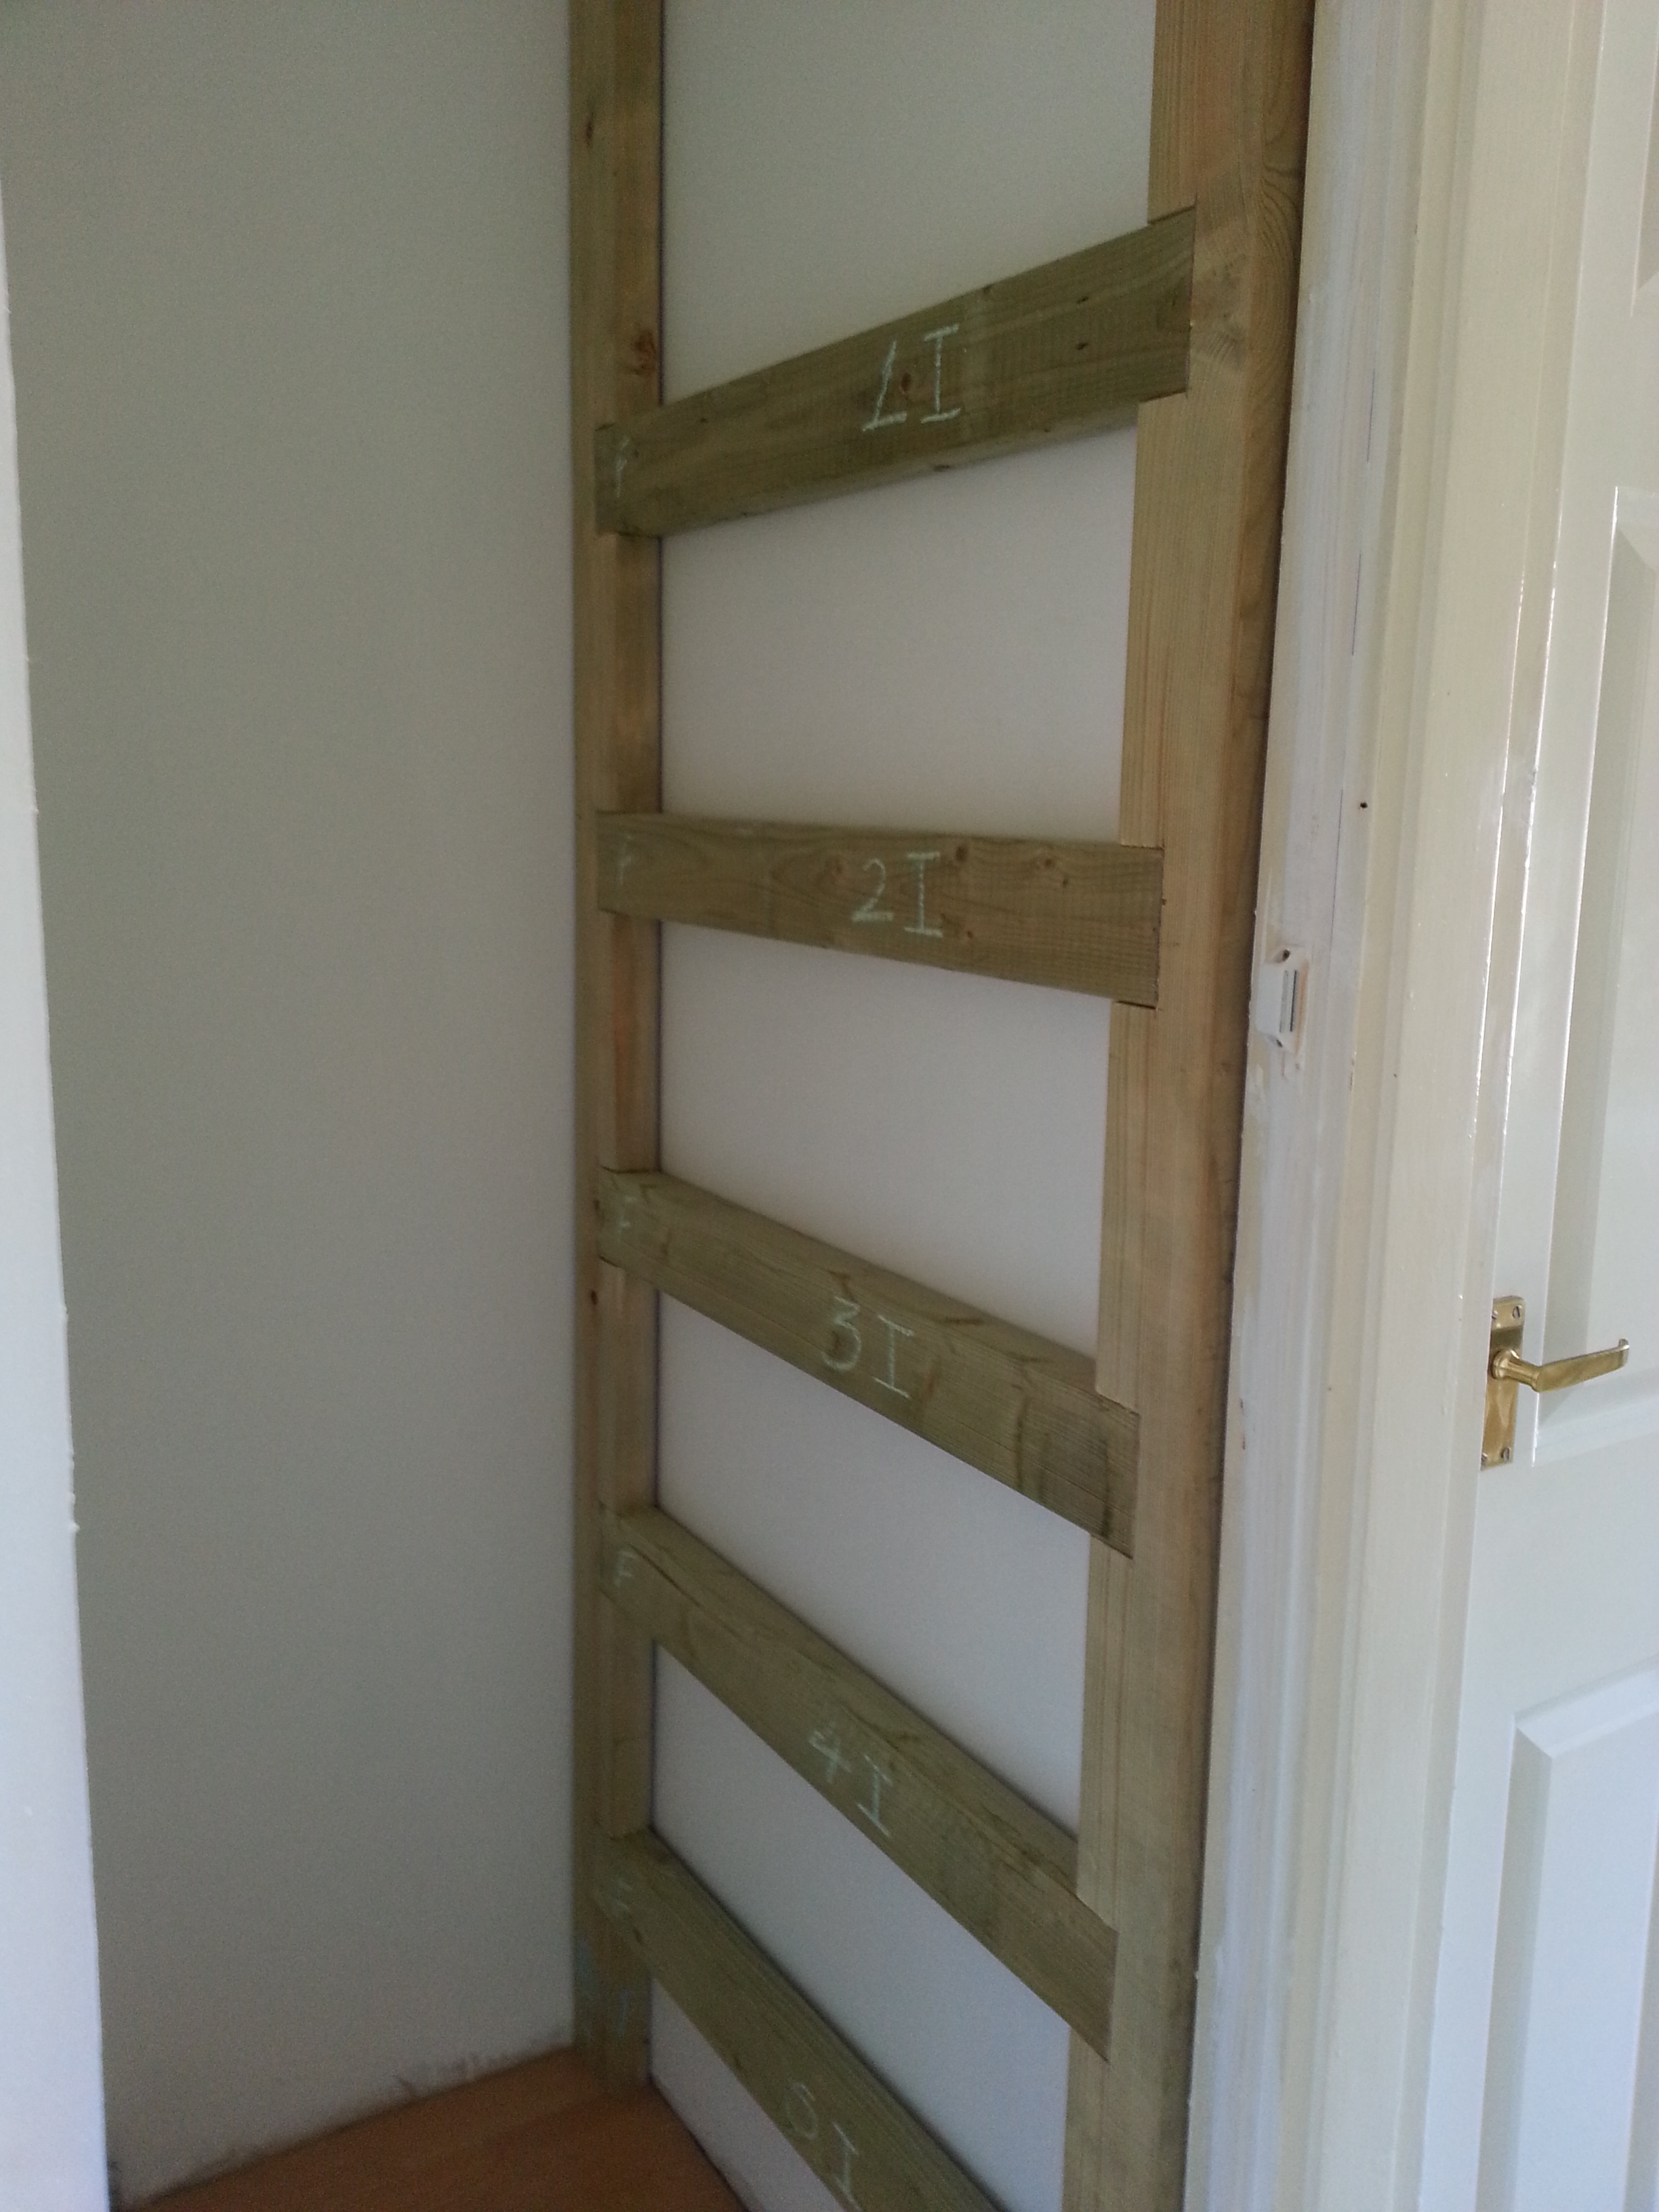
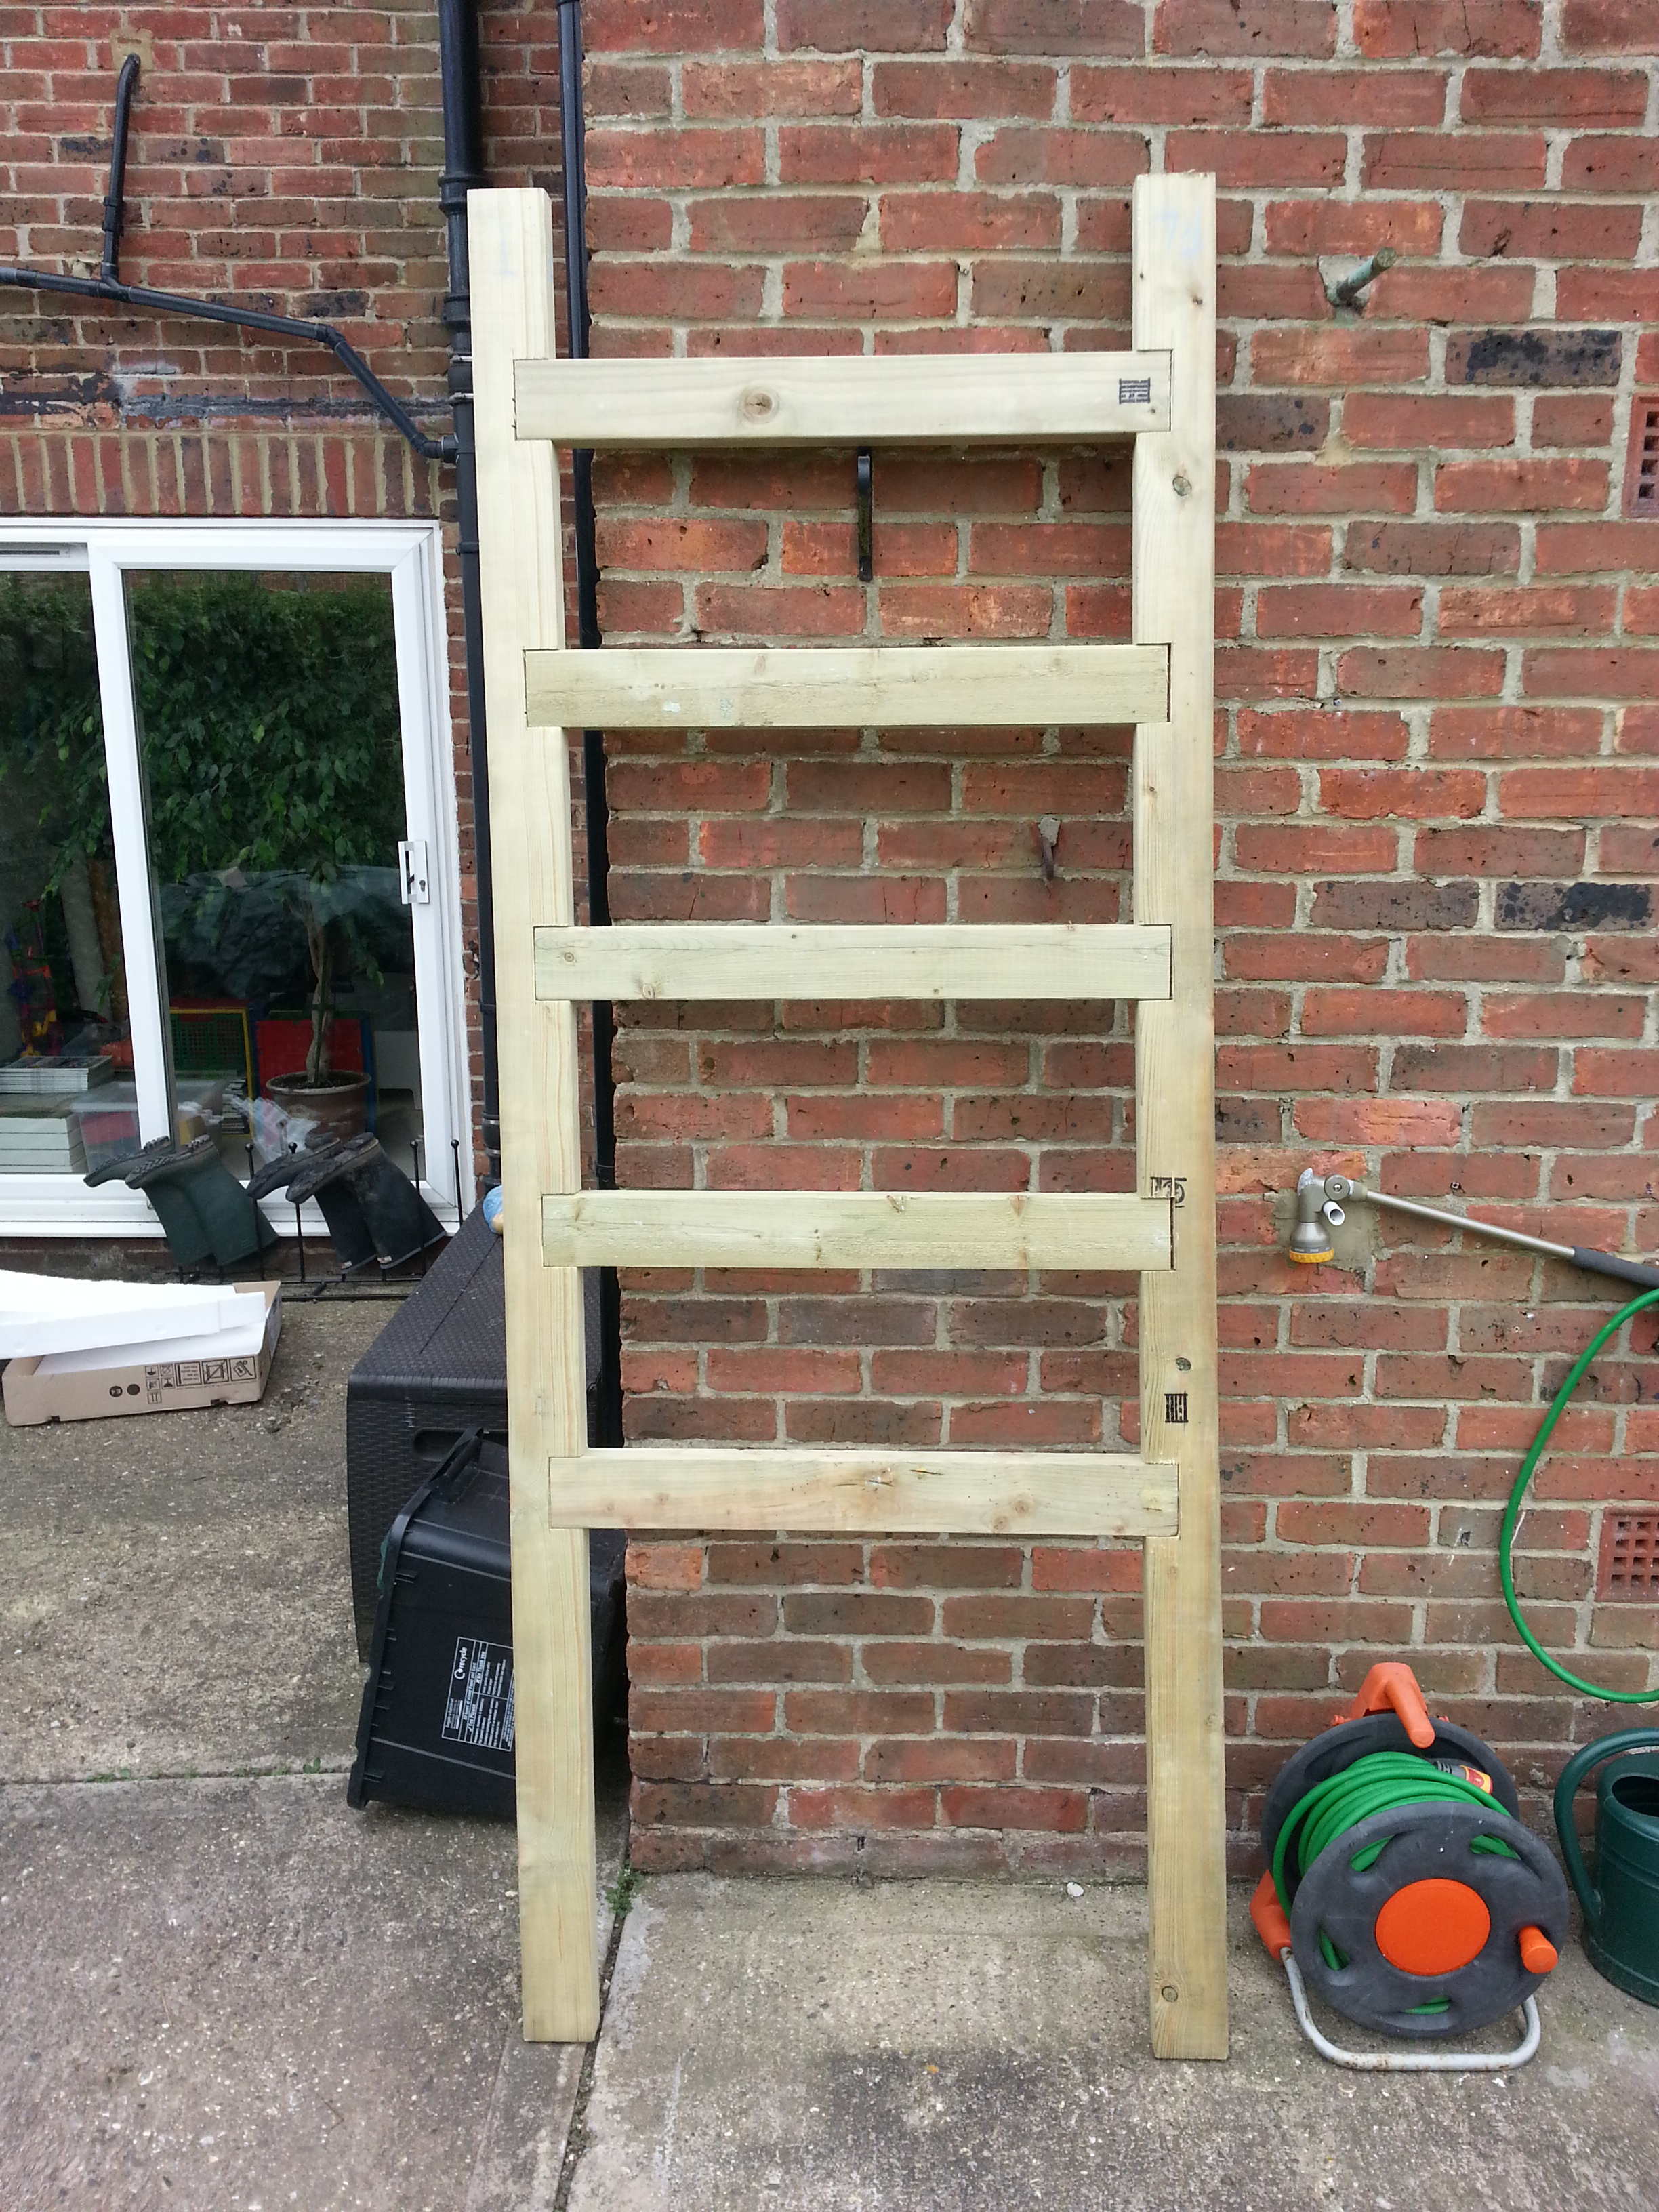
After cutting all the pieces for the sides, it was time for a test assembly, or dry fit as I believe they call it in the trade. Each side consisted of two stiles, front and back, plus five stretchers, one for each of the shelves.Having installed the stiles in place front and back of the cupboard, each of the stretchers was cut to the exact length required and marked up accordingly.
That the stiles leaned forwards or backwards slightly didn’t matter but they had to be vertical and parallel to each other. Similarly, it didn’t matter if the stretchers weren’t level, so long as the runners to be mounted on them were.
At this stage, everything is fitted together with friction alone, which was enough!
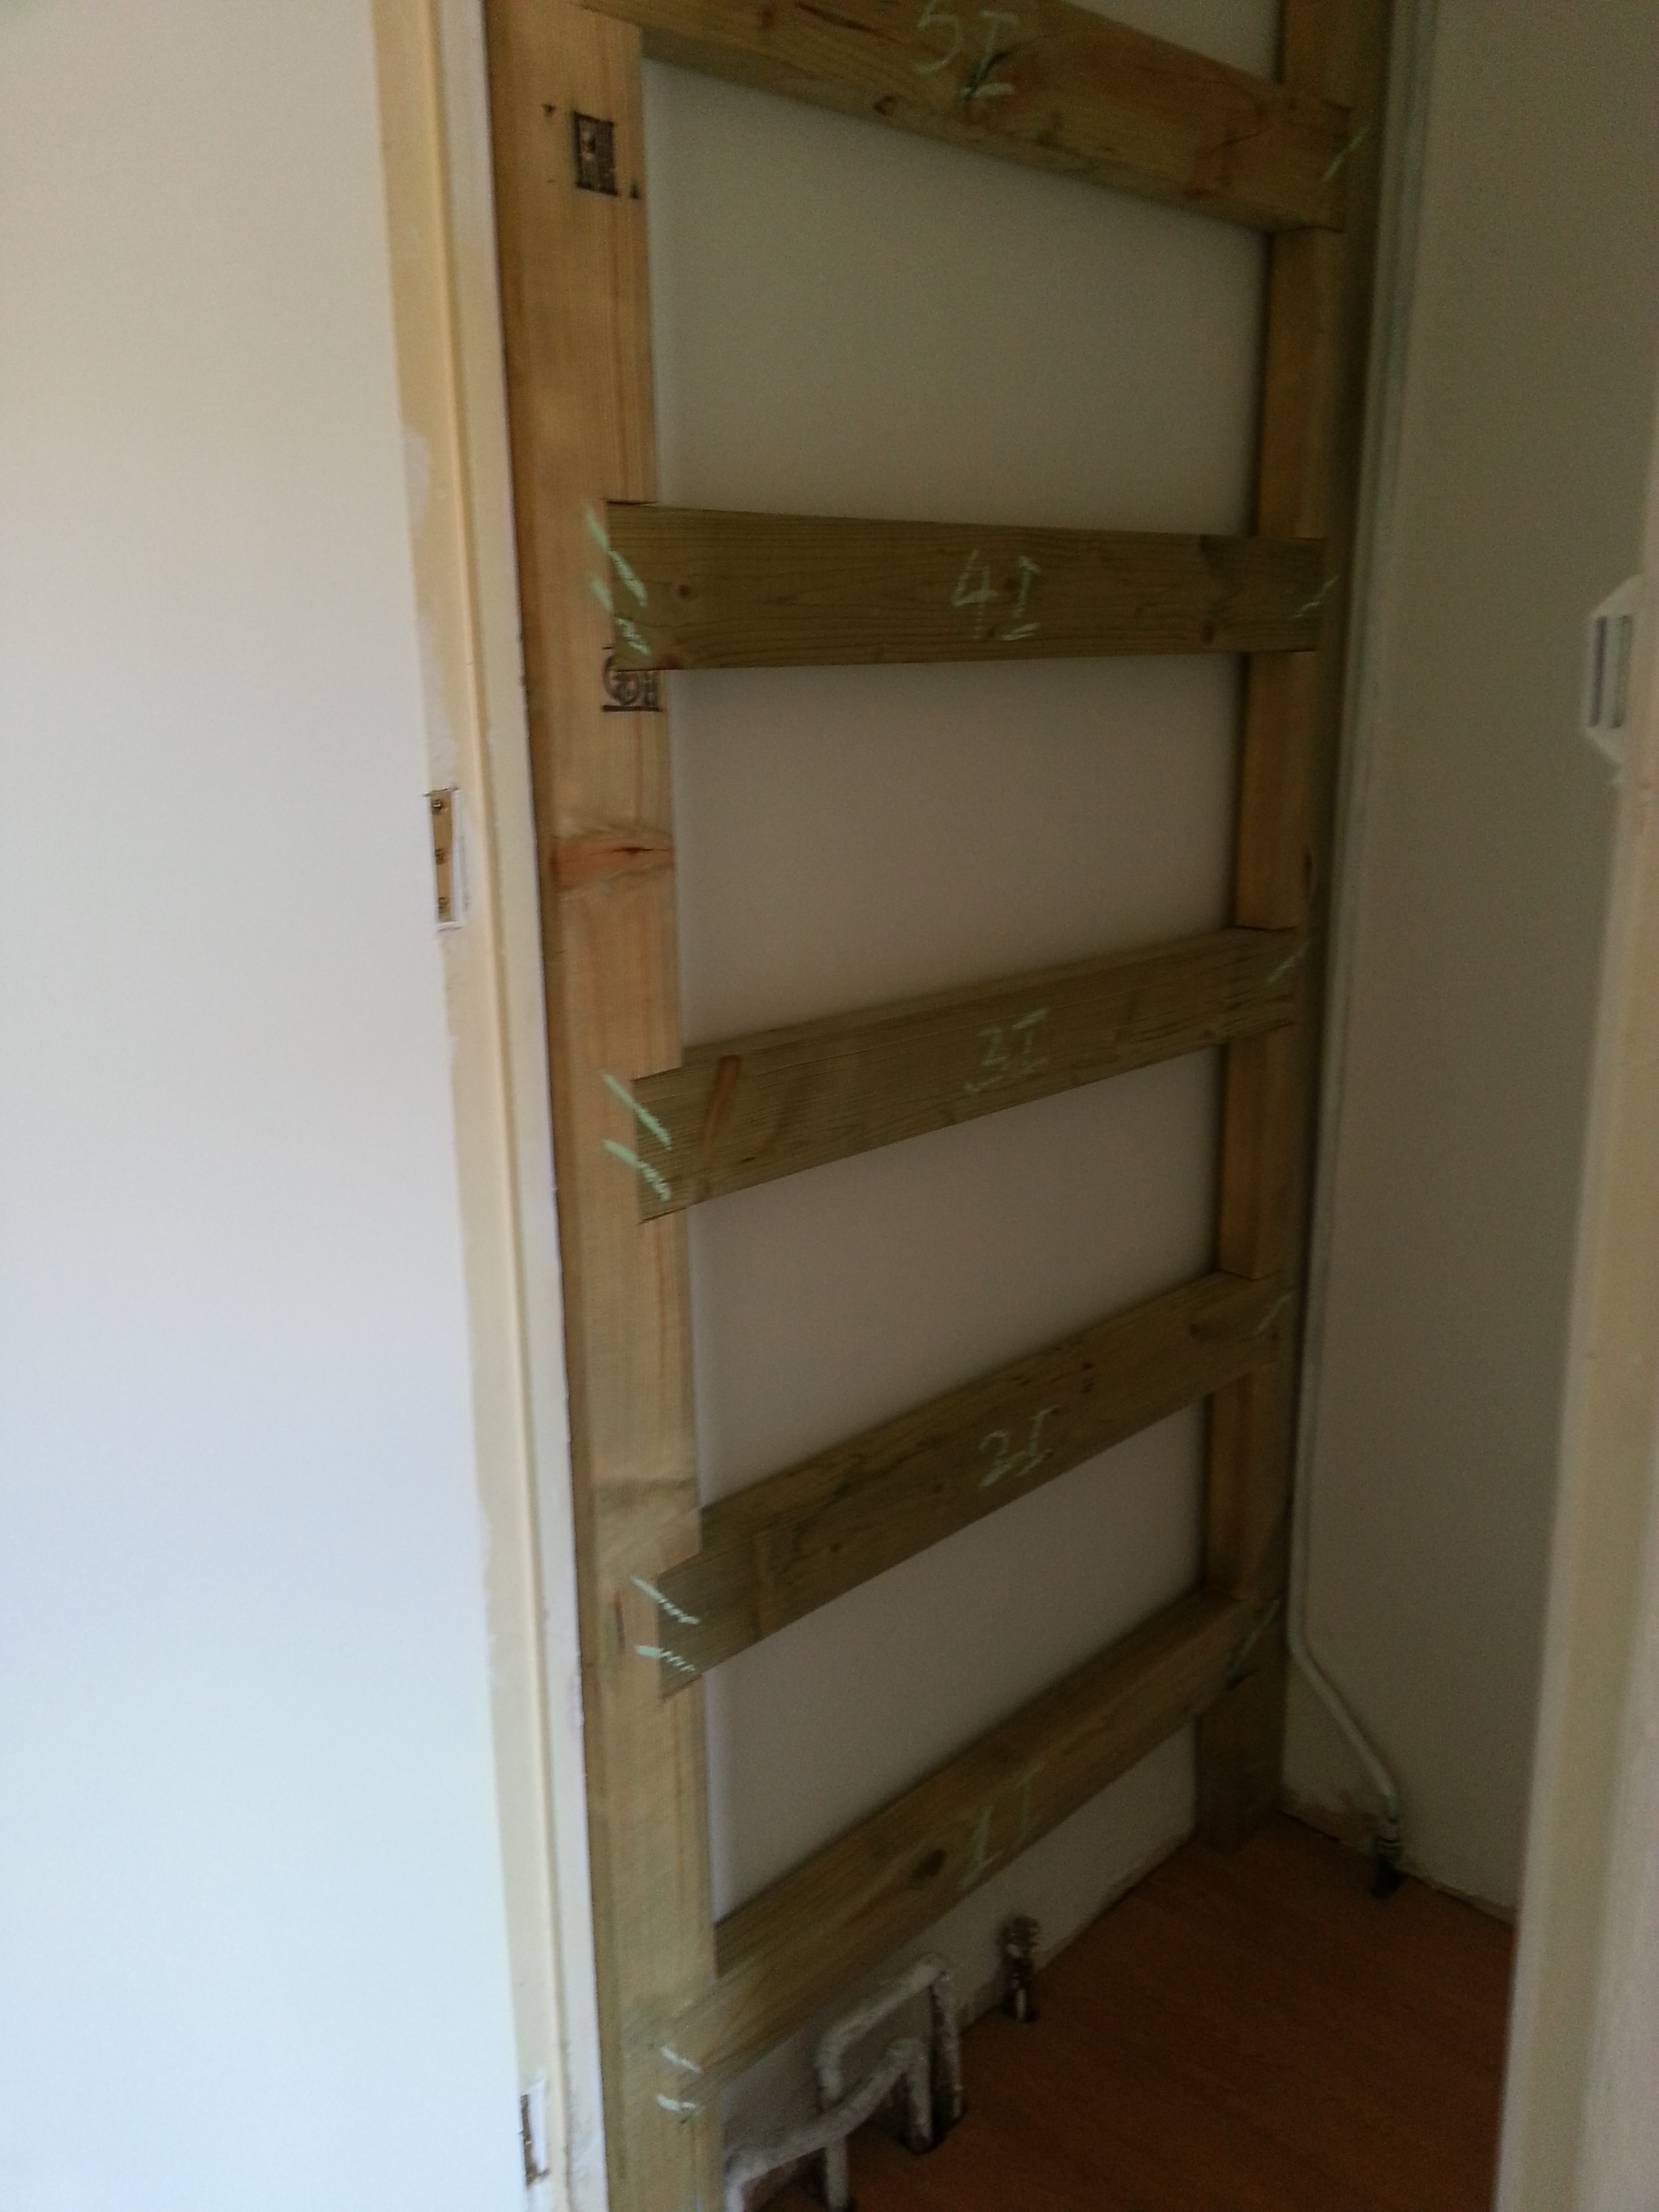
Next, it was over to the other side. Again, every stretcher was cut to the extra length required and marked accordingly. The eagle-eyed will already have spotted a minor error that tripped me up later in the assembly process!
Once everything was cut, it was back to the garden for assembly. Using two scraps of old laminate flooring and a clamp on each side, an enclosed pocket was made at each notch, ensuring that the stretchers aligned with the stiles.
The first and fifth stretchers were clamped and screwed up first, to allow the whole assembly to sit on the saw horses, rising the working height. Here you can see the middle stretcher being inserted.
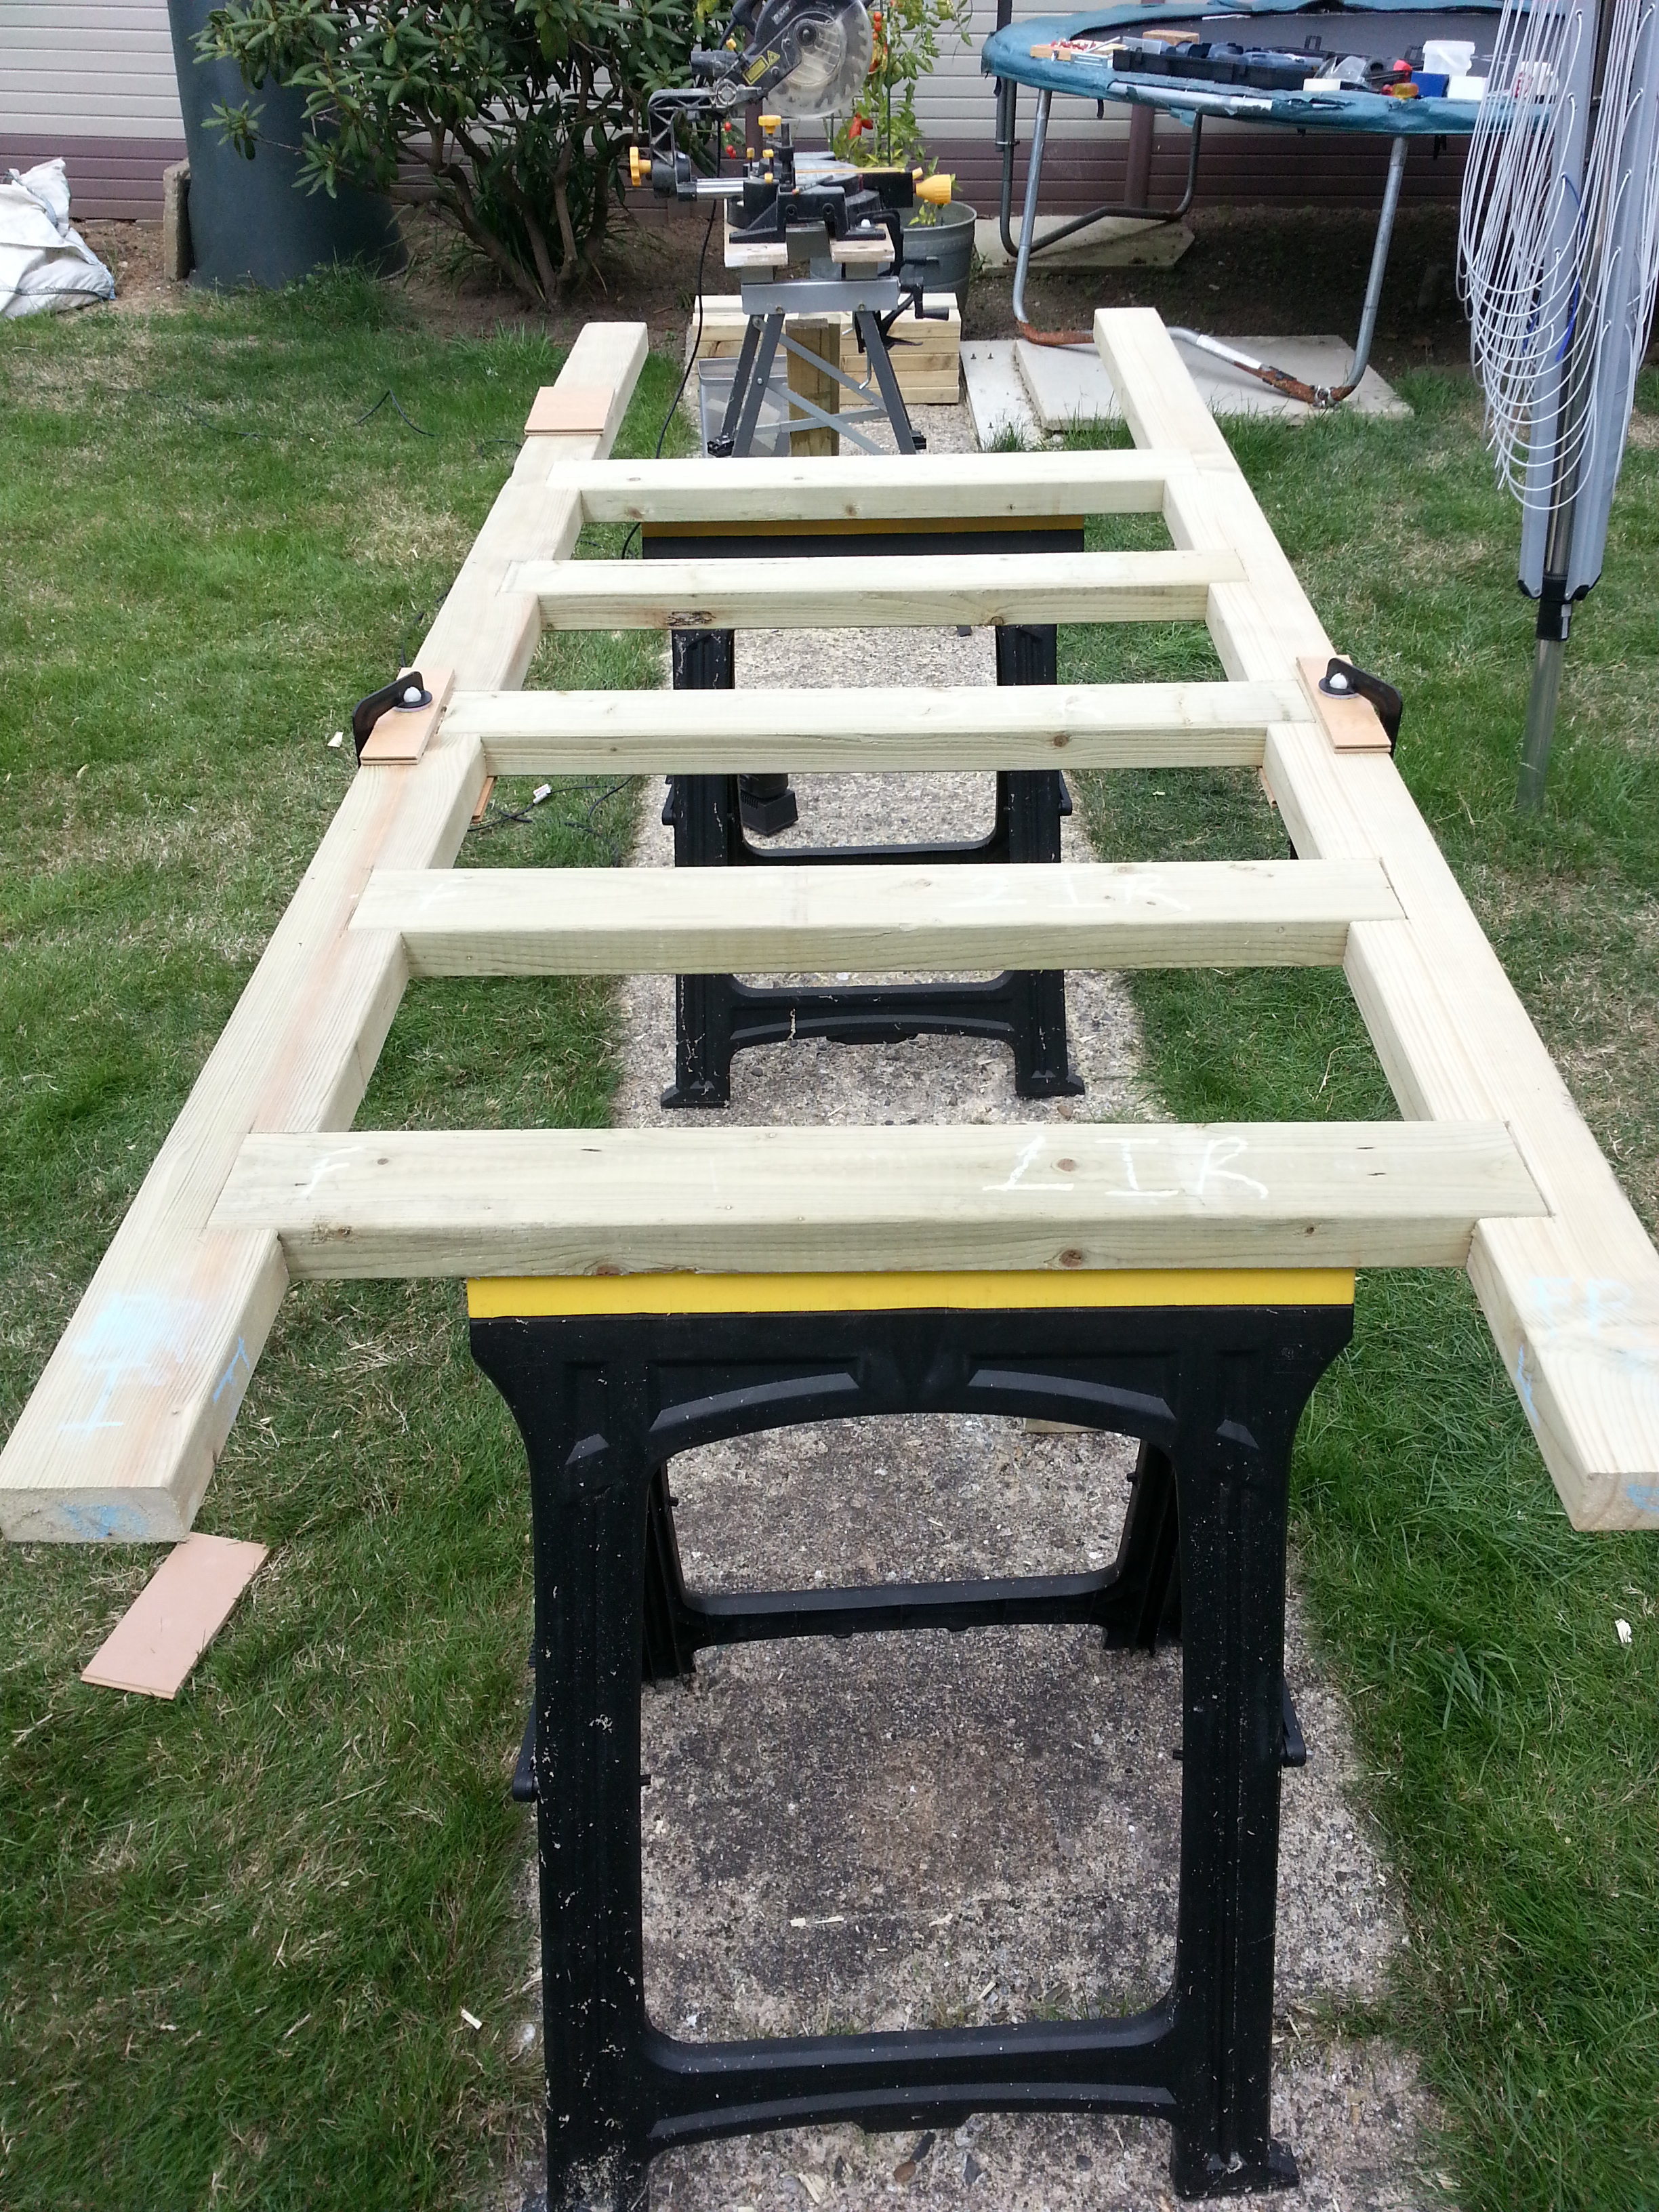
One side down, one more to go! Two screws were used in each end of each stretcher to prevent twisting. The biggest challenge now was to get the completed assemblies from the garden, up the stairs, round the corner and into the cupboard!
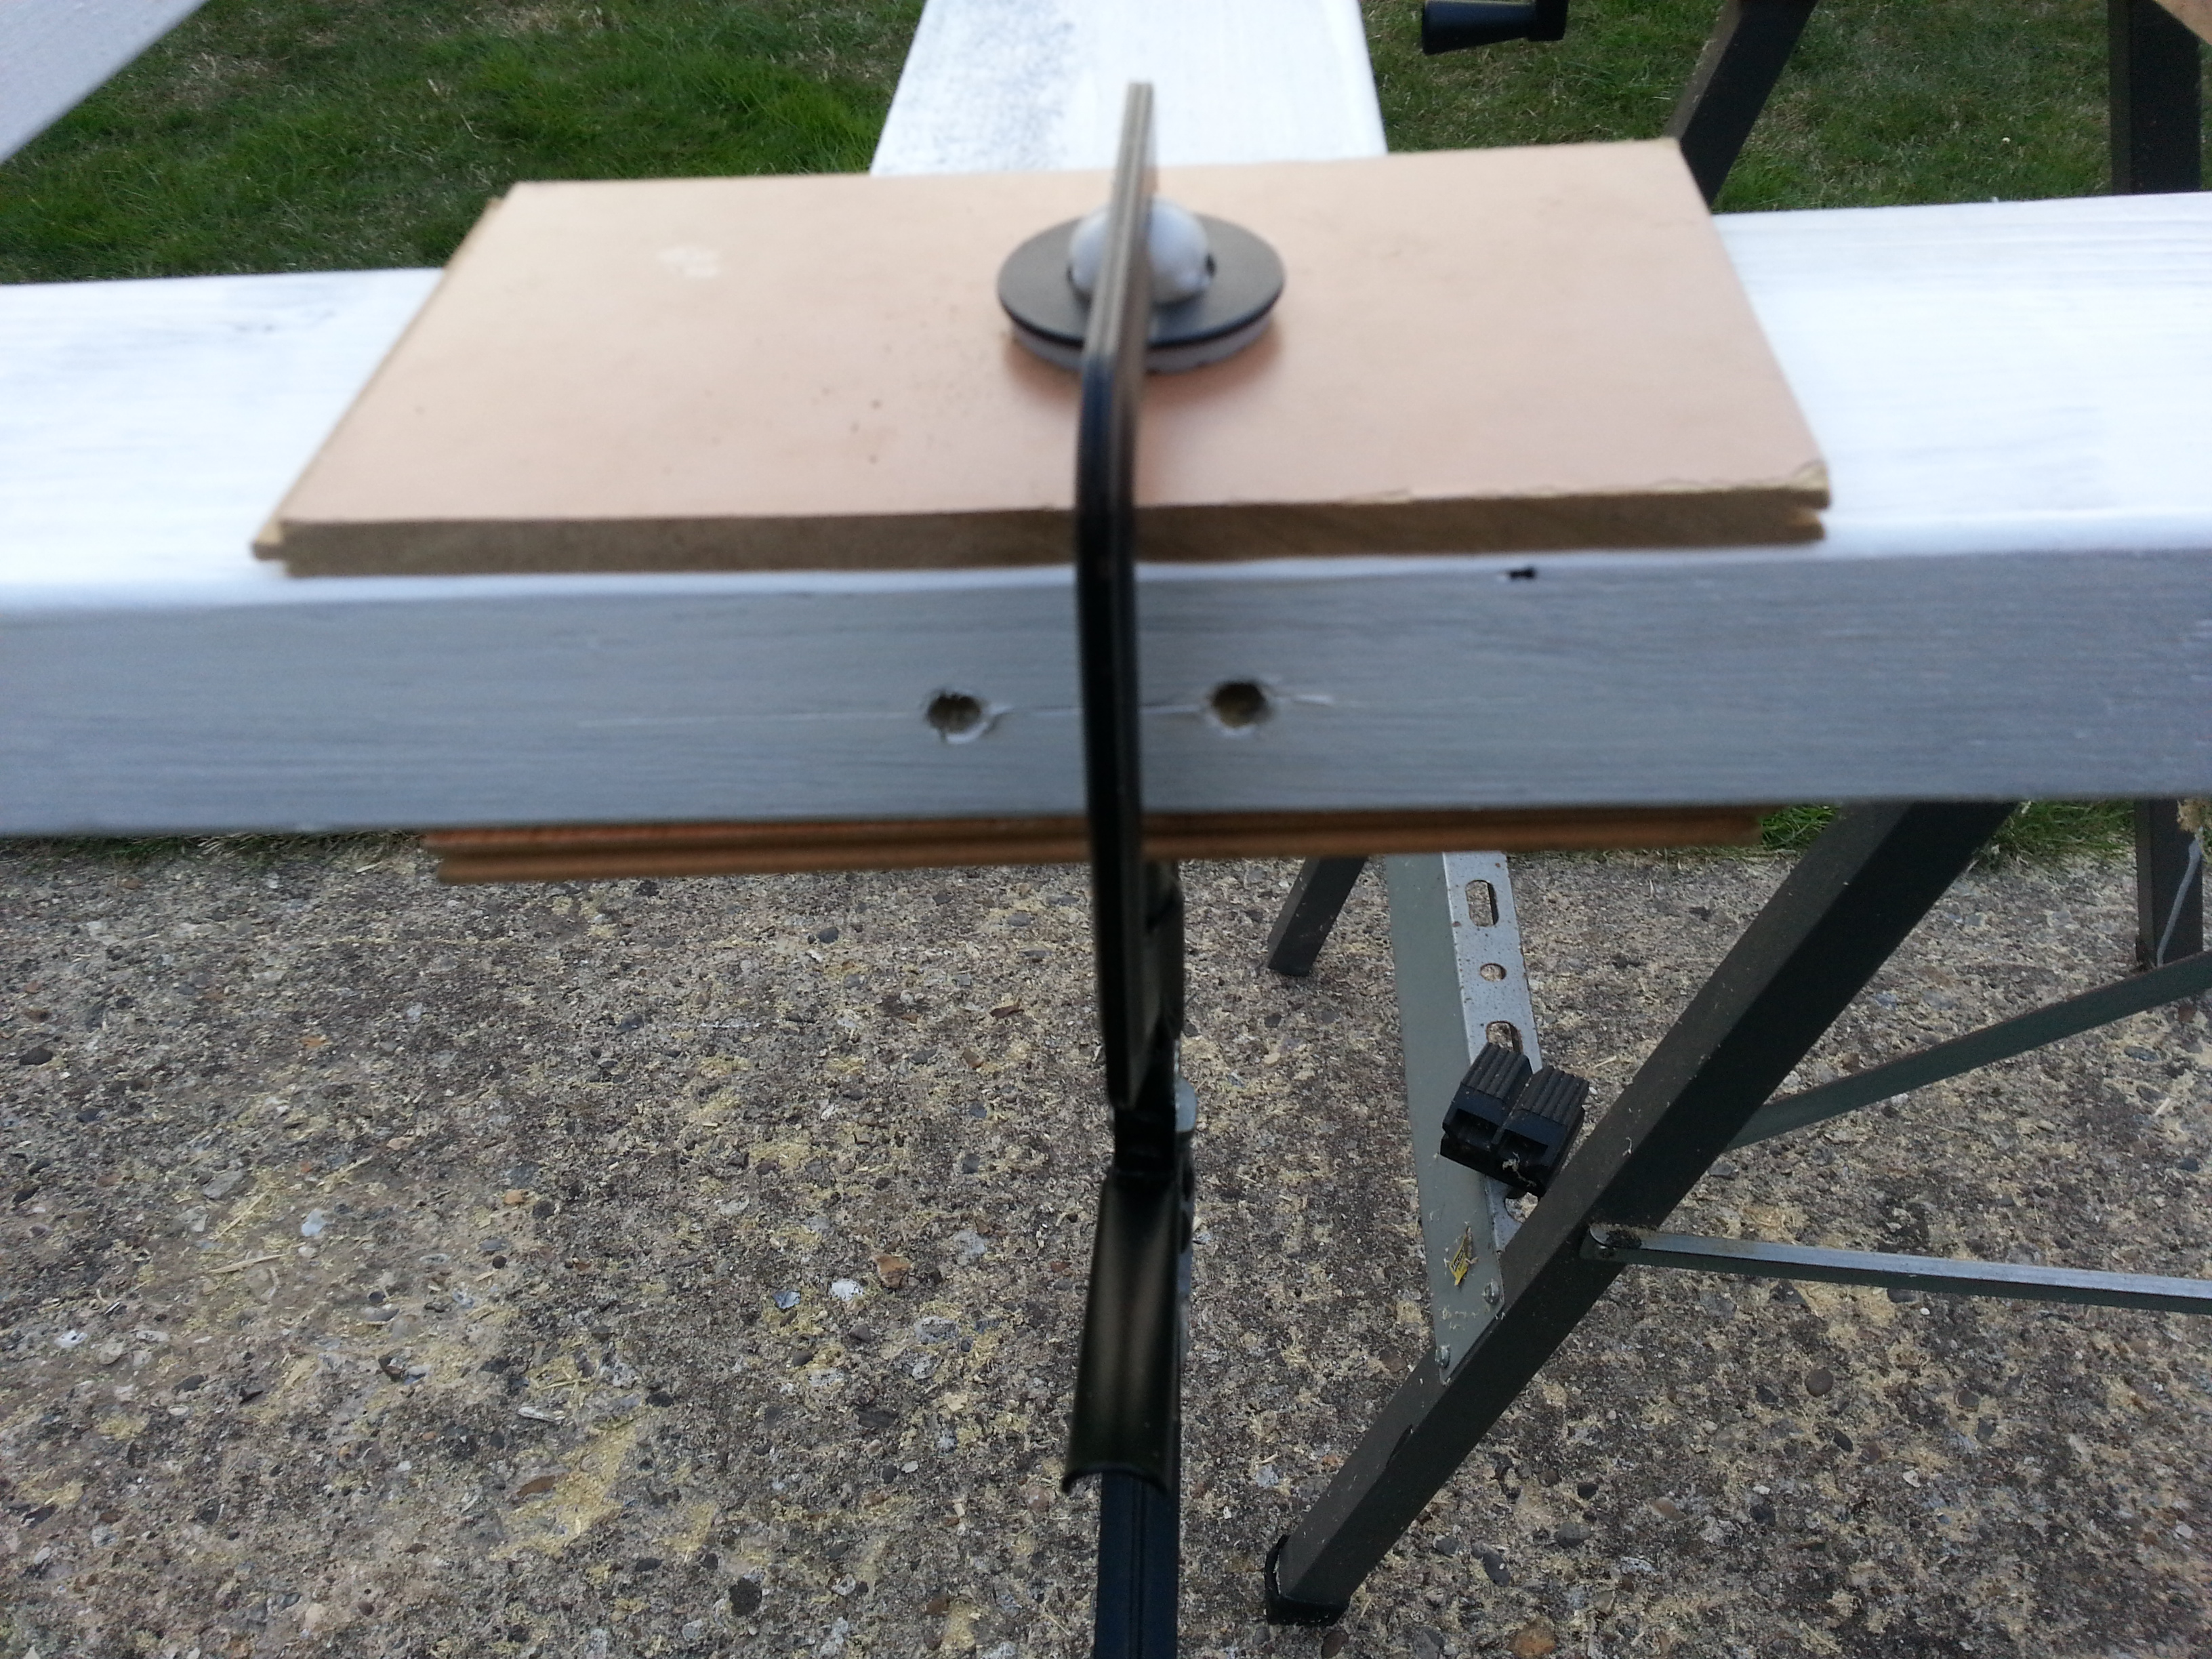
Here’s a close-up of the clamping, drilling and screwing arrangement. Holes were only drilled in the stiles, as the screws were going into the end grain of the stretchers.
The screws are not structural either, because of the notches in the stiles in which the stretchers sit. They’re really only to hold it all together in transit and laterally, which is not a load direction.